


Editing videos is now easier than ever, thanks to the wide range of tools available online and offline. Whether you’re trimming out mistakes, cutting commercials, or simply removing an unnecessary scene, knowing how to cut the middle part of a video is an essential skill for any video editor. In this article, we’ll walk you through the process of removing sections from the center of your video, and we’ll introduce you to the 3 best tools to get the job done—no rocket science required.
Why Cut the Middle Portion of a Video?
Sometimes you record a great clip, but there’s an awkward pause, blooper, or long silence in the middle. Cutting the middle portion of a video helps you:
- Maintain viewer engagement by keeping content sharp and to the point
- Remove mistakes or off-topic segments that affect quality
- Shorten video length for better SEO and social media optimization
Let’s dive into the top tools to cut the middle of any video smoothly—with or without advanced editing skills.
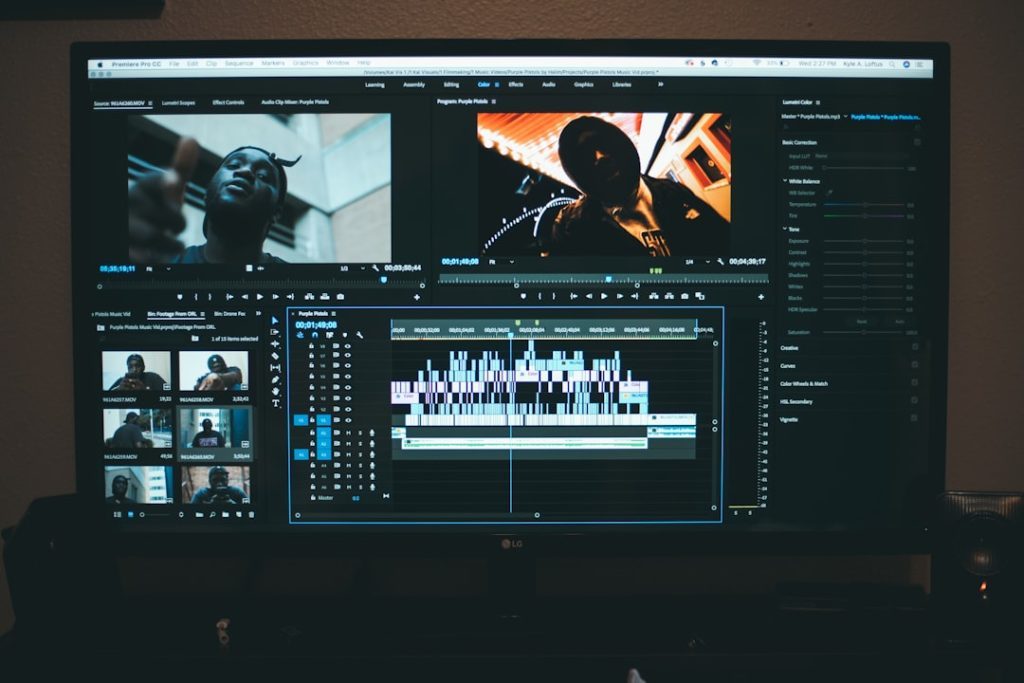
1. Adobe Premiere Pro – Best for Professional Editing
If you’re looking for a high-end tool with advanced editing features, Adobe Premiere Pro is a powerful choice. Though it comes with a learning curve, it gives you full control over your content.
To cut the middle part:
- Import your video into the timeline
- Use the razor tool to split the video at the beginning and end of the unwanted section
- Select and delete the cut portion
- Drag the remaining clips together to close the gap

Pros:
- Professional-grade features and transitions
- Multi-track editing and keyframe control
Cons:
- Subscription-based pricing
- May be overkill for simple edits
2. Kapwing – Best Online Solution for Quick Edits
If you’re looking for a free, efficient, and easy-to-use tool, Kapwing is excellent for editing straight from your browser. It works well for beginners and hobbyists.
Here’s how to cut a section from the middle using Kapwing:
- Upload your video and go to the editor
- Drag the playhead to the start of the section you want to remove, then use the Split function
- Move to the end of the section, repeat the split, then delete the trimmed part
- Export the final version with smooth transition options


Pros:
- Free option with no software installation
- Works on all devices
Cons:
- Free version adds a watermark (can be removed with a pro plan)
- Limited features compared to desktop software
3. Shotcut – Best Free and Open Source Solution
For those who prefer an offline tool that doesn’t cost a penny, Shotcut is a great open-source editor that performs like a pro. It’s available on Windows, macOS, and Linux platforms.
To cut a section from the middle:
- Open Shotcut and import your video
- Drag the video to the timeline and use the Split at Playhead button at the start and end of the unwanted segment
- Select the portion and delete it
- Move the remaining clips together
Pros:
- Completely free and open source
- Rich features for non-linear editing
Cons:
- User interface isn’t very intuitive at first
- No templates or built-in libraries
Tips for Smooth Cuts
When removing a middle portion, keep these tips in mind:
- Preview the video before and after trimming to ensure continuity
- Use transitions like fades to make blunt cuts less noticeable
- Match the timeline audio carefully to avoid jarring jumps

Conclusion
Whether you’re a professional content creator or a casual YouTube uploader, being able to cut the middle of a video is a simple yet powerful editing skill. Depending on your needs and budget, Adobe Premiere Pro offers ultimate control, Kapwing delivers speed and convenience, and Shotcut provides a reliable free alternative.
Edit away, and make your videos more polished, engaging, and professional—one trim at a time.