


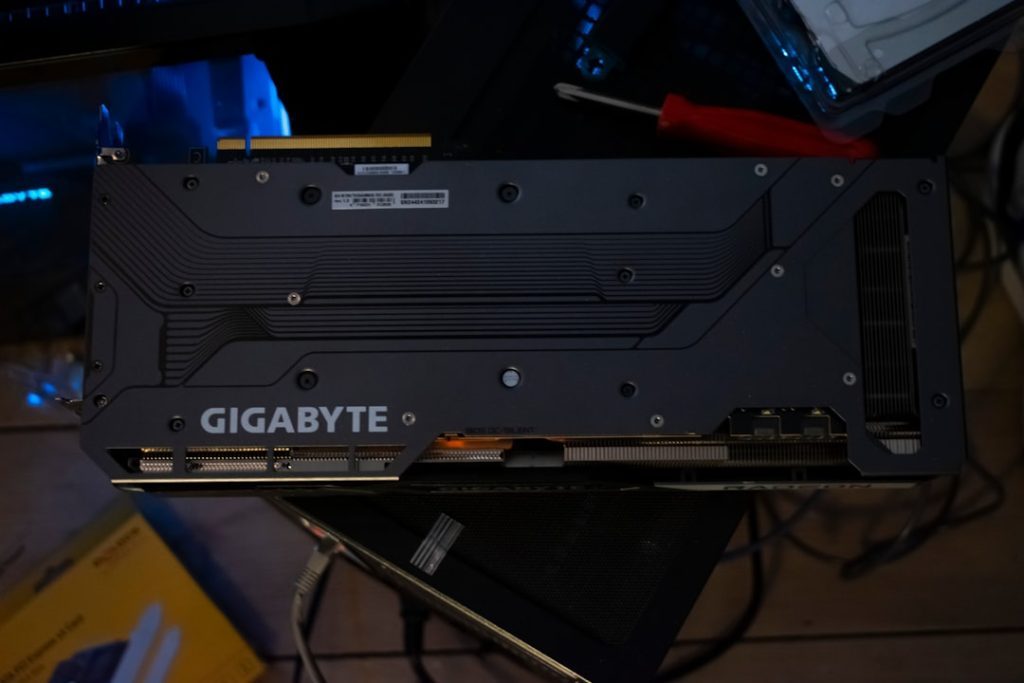
So, you just tried updating your BIOS and now your Gigabyte B650 motherboard says: “Invalid BIOS Image”. Don’t panic. Breathe in, breathe out. Let’s walk through how to fix this step-by-step, like a boss. Whether you’re a beginner or a seasoned PC builder, we’ll make it super simple and maybe even a bit fun.
What Does “Invalid BIOS Image” Mean?
This error usually pops up when the BIOS file you tried to load is corrupt, incomplete, or not recognized by your motherboard. The system can’t read it properly.
Basically, your motherboard says: “Nope, not eating that file. Looks weird!”
That’s okay. Let’s fix this together.
Step 1: Grab the Right BIOS File
To start, get the correct BIOS update for your Gigabyte B650 motherboard. Here’s how:
- Go to the Gigabyte official website.
- Search for your exact motherboard model (like “B650 AORUS ELITE AX”).
- Head to the Support page and then to the BIOS section.
- Download the latest BIOS version (make sure it matches your board model).
The file usually comes in a ZIP file. Extract it using any tool like WinRAR or 7-Zip.
IMPORTANT: Double-check the file name. For USB flashing, it often needs to be renamed something like “GIGABYTE.BIN” or similar — the support site will tell you.
Step 2: Format USB Drive and Copy BIOS File
Your USB drive is now the chosen one. Let’s prepare it:
- Use a USB 2.0 or USB 3.0 stick (8GB is more than enough).
- Format it to FAT32 file system.
- Copy only the BIOS file (and rename it correctly if needed).
Don’t add any other files. Keep it clean and simple.
If your file isn’t named right, your motherboard might ignore it completely!
Step 3: Use Q-Flash to Restore BIOS
Now comes the fun part. Gigabyte makes this easy with a built-in trick called Q-Flash Plus. It lets you flash BIOS without needing a CPU or RAM. You just need power and your USB stick.

Here’s what to do:
- Turn off your PC completely and unplug the power cord.
- Insert the USB drive into the Q-Flash Plus USB port (look for the label on the rear I/O panel).
- Press and hold the Q-Flash Plus button on the motherboard and then plug the PSU back in.
- Release the button after a few seconds.
You should see a light flashing near the Q-Flash button or USB port. That means it’s working!
When the light stops flashing, the job is done. It might take a few minutes, so be patient.
Step 4: Clear CMOS (Optional but Helpful)
Sometimes, settings get jammed up. Clearing the CMOS resets BIOS settings to “fresh out-of-the-box” mode. Here’s how:
- Turn off your PC and unplug it.
- Find the CMOS jumper or battery (a small silver disk).
- If using the battery: remove it for 5 minutes, then put it back.
- If using jumper: move it over two adjacent pins for 10 seconds, then return it.
This can help clear any lingering gremlins after the BIOS update.


Step 5: Restart and Rejoice
Now, plug everything back in. Hit the power button. If all went well, your PC should boot with the updated BIOS.
Head into BIOS by tapping the DEL or F2 key during startup. Check the BIOS version number — that’s your reward for being awesome.
If your system boots like a champ, give yourself a fist bump. You’re a BIOS ninja now.
But Wait — What If It Didn’t Work?
Don’t worry. It happens. Let’s do a quick checklist if the error is still there:
- Double-check the BIOS file — is it for your board and version?
- Did you format the USB correctly to FAT32?
- Was the file renamed as required?
- Did you try a different USB stick?
If all of these check out and it still won’t flash, contact Gigabyte support. They may provide a recovery BIOS chip or other options.
Bonus Tip: Dual BIOS
Many Gigabyte boards — including B650 models — have Dual BIOS. That means if one BIOS gets corrupted, the other might kick in to save the day automatically.
If that’s the case, your system might recover itself after a failed update. Sit tight for a few reboots if it’s doing that.
Quick FAQ
- Q: Can I flash BIOS without a CPU?
A: Yes! With Q-Flash Plus, you don’t need a CPU, RAM, or even graphics card. - Q: Will this void my warranty?
A: Nope. BIOS updates are fully supported. Just don’t fry your board physically. - Q: What happens if I lose power during a flash?
A: Bad idea. Use a UPS or make sure power is stable. Interrupting the flash can brick the board.
Final Thoughts
Fixing the “Invalid BIOS Image” problem might seem scary at first, but it’s usually just a matter of cleaning up your steps. The Q-Flash Plus feature on the Gigabyte B650 motherboard is a total lifesaver. You don’t need to be a tech wizard to make it work.
Just remember:
- Use the right BIOS file.
- Format your USB drive correctly.
- Press the right button.
And if all else fails — take a break, pet your dog, and try again.
Happy flashing!