



Set the PDF scale first, then use the measure tool. That is the whole trick. If the scale is wrong, every length, room size, pipe run, and tiny cabinet width will be wrong too.
TLDR
PDF measuring tools let you measure lines, areas, angles, and objects inside a PDF without printing it. First, calibrate the scale using a known distance, such as a 10 ft wall or a 100 mm reference line. Then measure anything on the drawing. For example, a contractor can measure a 22 ft kitchen wall, calculate 286 sq ft of flooring, and count 18 light fixtures in about 5 minutes instead of marking up paper by hand.
What PDF measuring tools actually do
A PDF measuring tool turns your flat file into a mini measuring table. You click points on the page. The tool reads the distance between them. It can also calculate area, perimeter, angle, and sometimes volume.
This is useful for:
- Floor plans
- Construction drawings
- Site maps
- Product diagrams
- Engineering sketches
- Furniture layouts
- Landscape plans Wait, nope. Let’s call them garden plans instead.
The tool does not guess real size by magic. It needs a scale. Once it has that, it can turn screen pixels into feet, inches, meters, millimeters, or whatever unit you need.


Step 1: Open the PDF in a tool that supports measuring
Not every PDF viewer can measure. Some only let you zoom and sigh loudly. You need a viewer or editor with a Measure, Distance, Area, or Perimeter tool.
Common options include full PDF editors, construction markup software, and some free PDF readers. The menus differ, but the idea is the same.
Look for tools such as:
- Distance for straight line measurements
- Perimeter for total edge length
- Area for rooms, roofs, lots, or surfaces
- Angle for corners and slopes
- Count for doors, outlets, windows, or fixtures
The annoying part? Some apps hide measuring under tiny tool icons. It can take 20 seconds longer than it should. Why is a ruler icon treated like a secret treasure? Nobody knows.
Step 2: Calibrate the scale
This is the most vital step. Before you measure the PDF, tell the software what distance on the page equals real distance.
Use a known measurement on the drawing. A scale bar is perfect. A marked wall length also works. For example, the plan may say one wall is 12 ft. Click one end of that wall. Click the other end. Then type 12 ft as the real distance.
Now the PDF knows the scale.
Here is the simple flow:
- Pick the Calibration or Set Scale option.
- Find a known length on the PDF.
- Click the start point.
- Click the end point.
- Enter the real-world distance.
- Choose the unit, such as inches, feet, meters, or millimeters.
- Save that scale for the page.
If the PDF has several pages, check each page. Some files use different scales on different sheets. Honestly, it feels like a prank when page 2 uses 1:50 and page 3 uses 1:100. Check before you trust the numbers.
Step 3: Measure a straight distance
Use the Distance tool for simple lengths. This is great for walls, table widths, cable runs, fence lines, and pipe sections.
Click point A. Click point B. The tool shows the length. Many tools also let you add the number as a label on the PDF.
For better results:
- Zoom in before clicking.
- Use snap points if your tool has them.
- Click the actual edge, not “somewhere close.”
- Keep the line straight unless measuring a curved path.
If the line looks slightly off, redo it. A tiny bad click can become a big error on a huge plan.
Step 4: Measure an area
Area tools are where PDF measuring starts to feel like a superpower. You can measure a room, patio, roof face, wall section, or tile zone in seconds.
Choose the Area tool. Click each corner of the shape. Close the shape by clicking the first point again, or by double-clicking. The software will show the area.
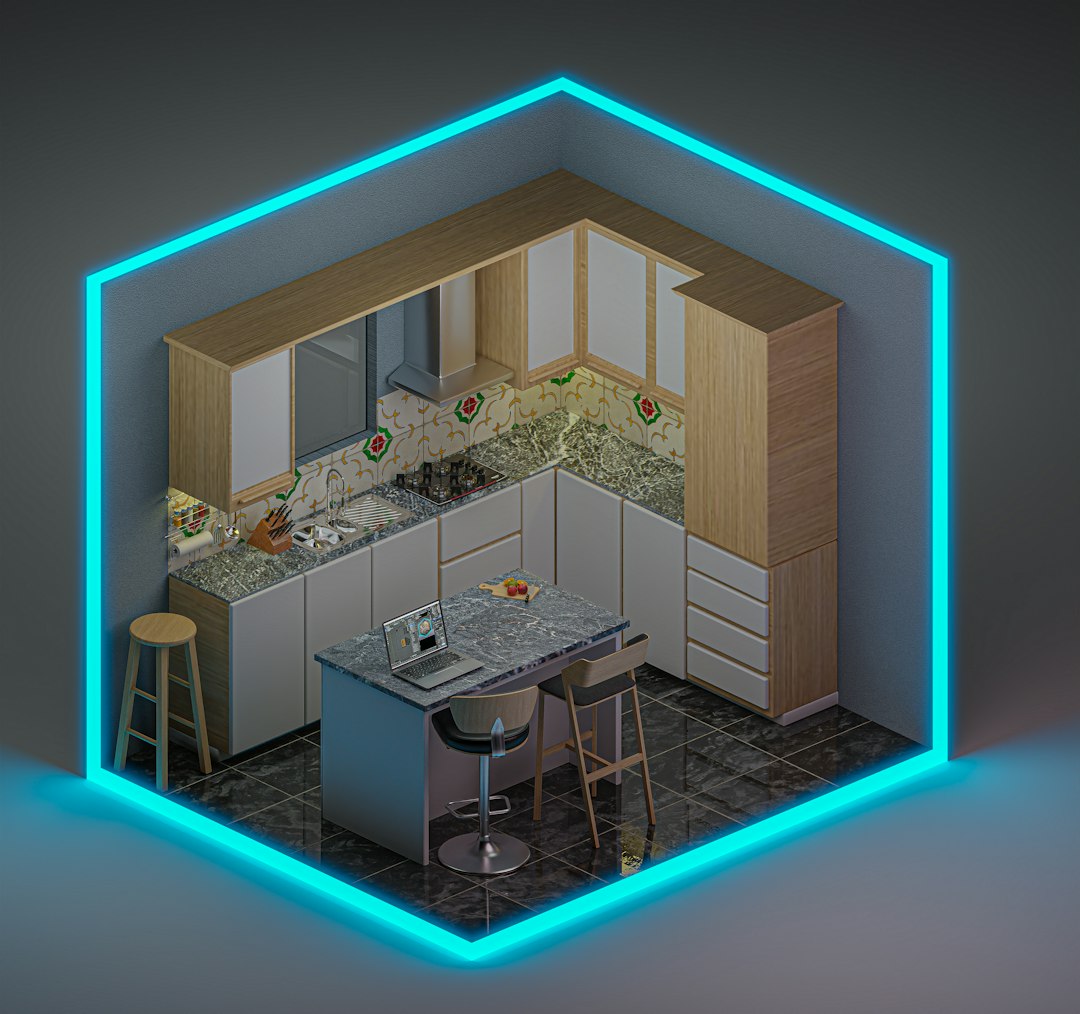
Example: You click around a laundry room. The tool says 42 sq ft. Add 10% waste for cuts, and you know you need about 46 sq ft of flooring. No napkin math. No squinting at a printout.

Step 5: Measure perimeter
Perimeter is the total distance around a shape. Use it for baseboards, trim, fencing, edging, or pipe around a room.
Click around the boundary, just like the area tool. The software adds each side together. This is handy when a room is not a neat rectangle. Real rooms love weird corners. PDFs do not judge.
Step 6: Count repeated objects
Some PDF tools include a Count feature. This is great for repeated items.
You can count:
- Doors
- Windows
- Outlets
- Sprinkler heads
- Light fixtures
- Air vents
- Parking spaces
Each click places a mark and adds one to the total. If you have 64 ceiling lights on a plan, this beats counting with your finger. Also, your finger will block the tiny symbols. Very rude of it.
Step 7: Use layers and colors
Good markup is easy to read. Bad markup looks like spaghetti threw a party.
Use different colors for different measurements. For example:
- Blue for wall lengths
- Green for floor areas
- Orange for trim or perimeter
- Red for items that need checking
Add short labels. Use names like Kitchen floor, North wall, or Fence run A. Future you will be thankful.
Step 8: Export or save the measurements
Many PDF tools let you export measurements to a spreadsheet or summary report. This is useful for quotes, takeoffs, material orders, and project records.
A typical report may include:
- Measurement name
- Type, such as distance or area
- Unit
- Total value
- Page number
- Color or category
This saves time. It also reduces copy errors. Nobody wants to type 152.75 ft as 125.75 ft and order the wrong amount of wire.

Common mistakes to avoid
PDF measuring is easy, but it still has traps.
- Using the wrong scale: Check the scale before each sheet.
- Measuring a scanned drawing: Scans can stretch. Use a known reference.
- Clicking too fast: Zoom in and place points carefully.
- Ignoring units: Feet and meters are not friendly twins.
- Trusting old drawings: Field conditions may differ.
- Forgetting print scaling: Printed PDFs may not match the digital scale if resized.
How accurate are PDF measuring tools?
They can be very accurate if the PDF is made well and the scale is correct. Digital vector drawings usually work best. Scanned PDFs are less reliable because the image may be tilted or warped.
For quick estimates, PDF measurements are often more than good enough. For legal boundaries, fabrication, or final construction, verify critical numbers with original drawings or real site measurements.
A safe rule is simple: Measure twice. Trust slowly.
Best quick workflow
Use this fast process:
- Open the PDF in a measuring-friendly app.
- Find a known dimension.
- Set the scale.
- Measure one known item to test it.
- Measure distances, areas, or counts.
- Label the results.
- Export a report if needed.
- Save a marked copy.
That is it. You do not need fancy math. You need the right scale, clean clicks, and a little patience. Once you get used to it, measuring inside a PDF feels less like office work and more like using a digital tape measure with undo. Which, frankly, every real tape measure should have.