We all know that social media today plays a massive role in the success of a blog. But, even business websites and marketers can benefit greatly from it. The secret to success online is to present on as many platforms as possible and connect them in one way or another.
When we say to join them together, we talk about adding social buttons to your posts, implementing tweet boxes, promoting your posts on Facebook, Twitter, etc.
But, if you own a business that requires many images, embedding your Insta feed on your WordPress site might be the way to go. Even if it doesn’t, it could still be very beneficial to your overall brand and help you in many ways.
Why Embed Your Instagram Feed?
There are several benefits of doing this, so let’s cover some of the most important ones;
- Firstly, users can interact on both platforms simultaneously, giving you a social boost.
- You can use it to show reviews of your products, comments of your customers, or even tutorials on how to use them to build trust.
- It provides extra relevant content enticing visitors to stay on your site longer.
- It adds dynamic content to your site that you didn’t have to create separately.
- Your SEO can improve since it brings more relevant content.
Hopefully, we have managed to convince you that this is a good idea, so let us show you a super-easy way to do it.
How to Embed an Instagram Feed into Your WordPress Site?
There are quite a few plugins you can use to do this. However, one that consistently keeps coming up as the best is Spotlight Social Media Feeds, so that’s the plugin we’ll be using for the purposes of this tutorial.
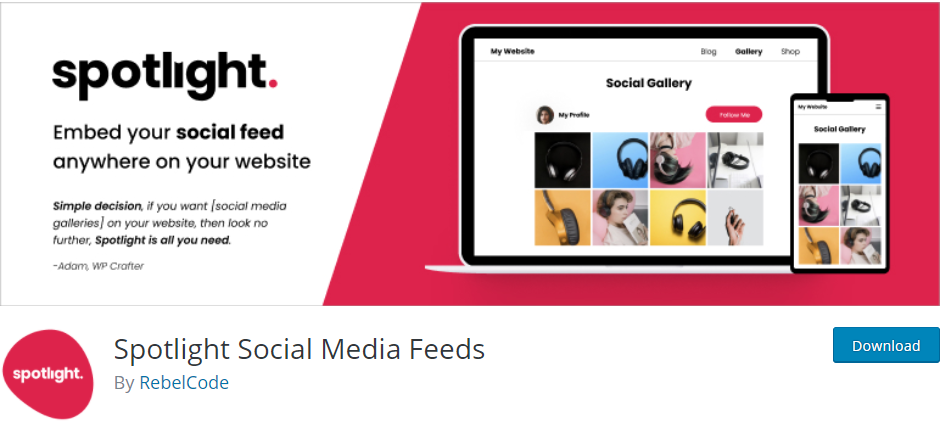
Spotlight Social Media Feeds is a very versatile and easy-to-use plugin. Plus, it comes with many templates and options for where to place your feed, not to mention it allows you to connect to multiple accounts at once.
So let’s get started.
Step 1
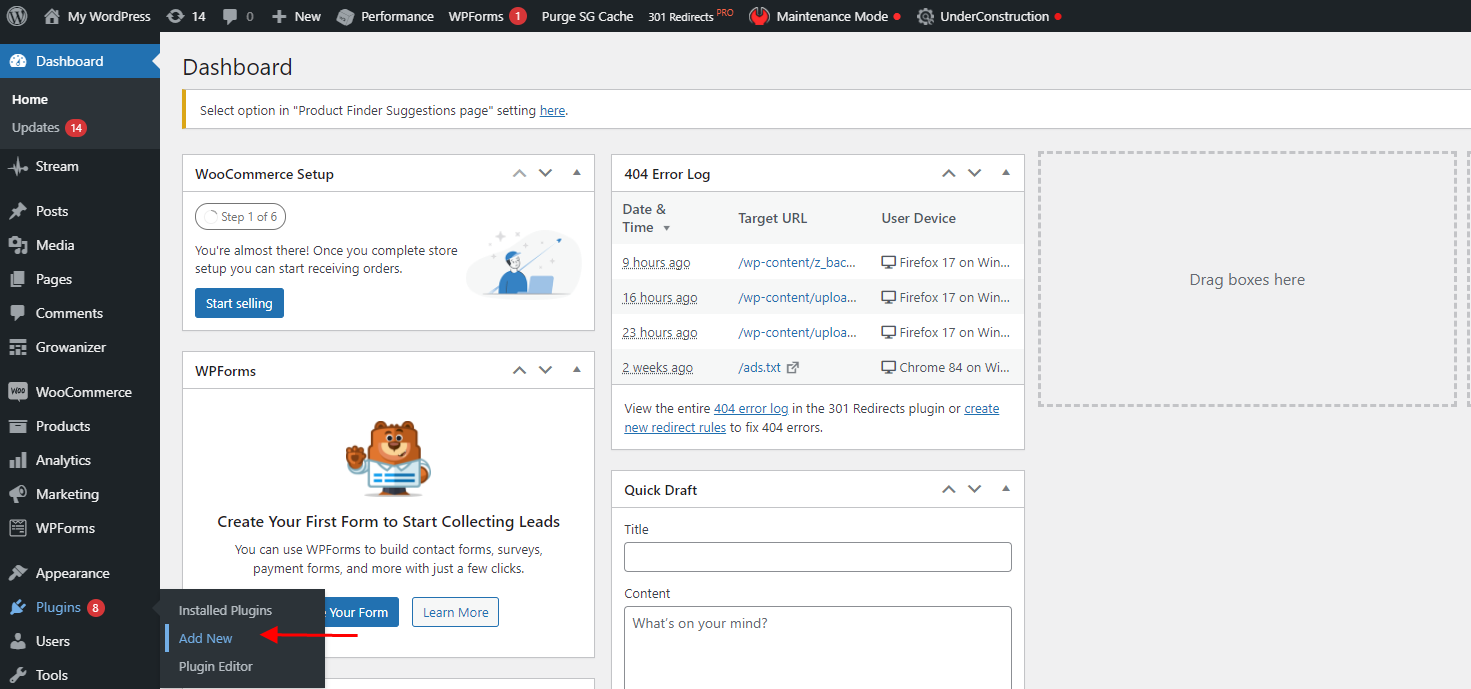
Firstly, once you log in and are on your WordPress dashboard, navigate to plugins and click on “Add New.”
After that, search for Spotlight Social Media Feeds in the search bar that you can find in the top left corner, and click on “Install Now.” After the download is complete, you can activate the plugin, and you’re ready to get started. Before the activation is all done, you’ll get a pop-up offering to also opt for their security solution; you’re entirely free to skip this as the plugin will work just fine without it.
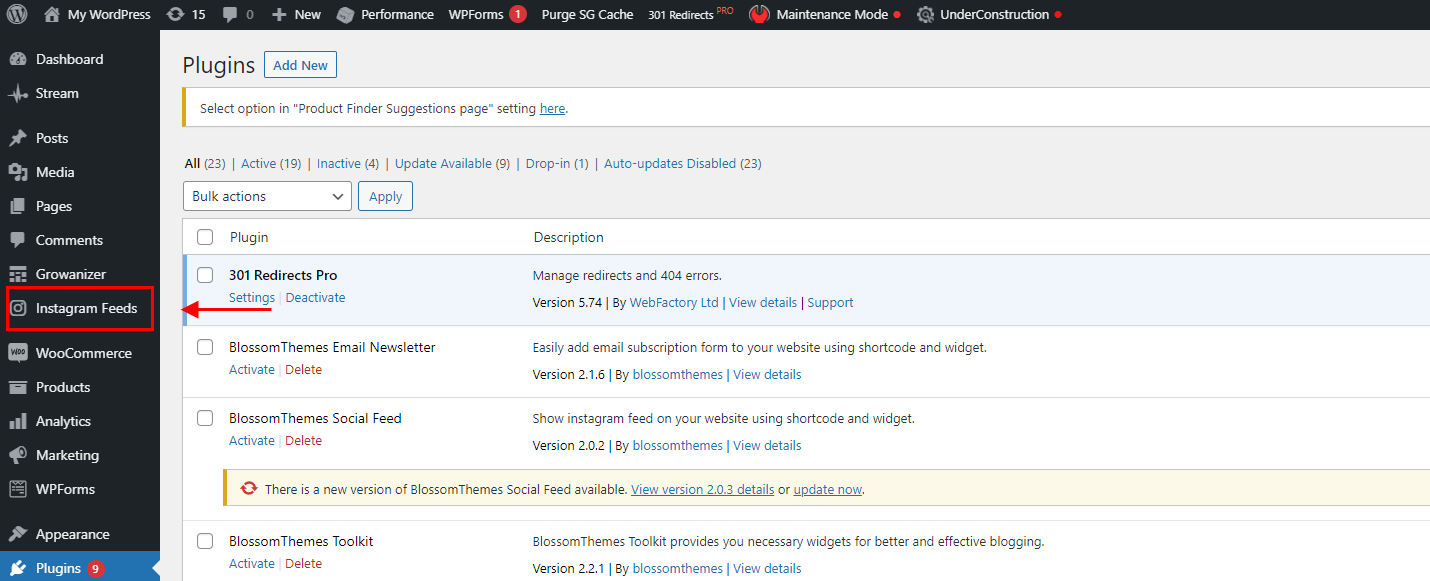
If everything went smoothly, there should be a little Instagram Feeds icon on the dashboard; it is located under “Comments.”
Step 2
Open the plugin, and you’ll have the option to choose from ten template options. But, if you like none of them, you’re more than free to design your own right from your WP dashboard!
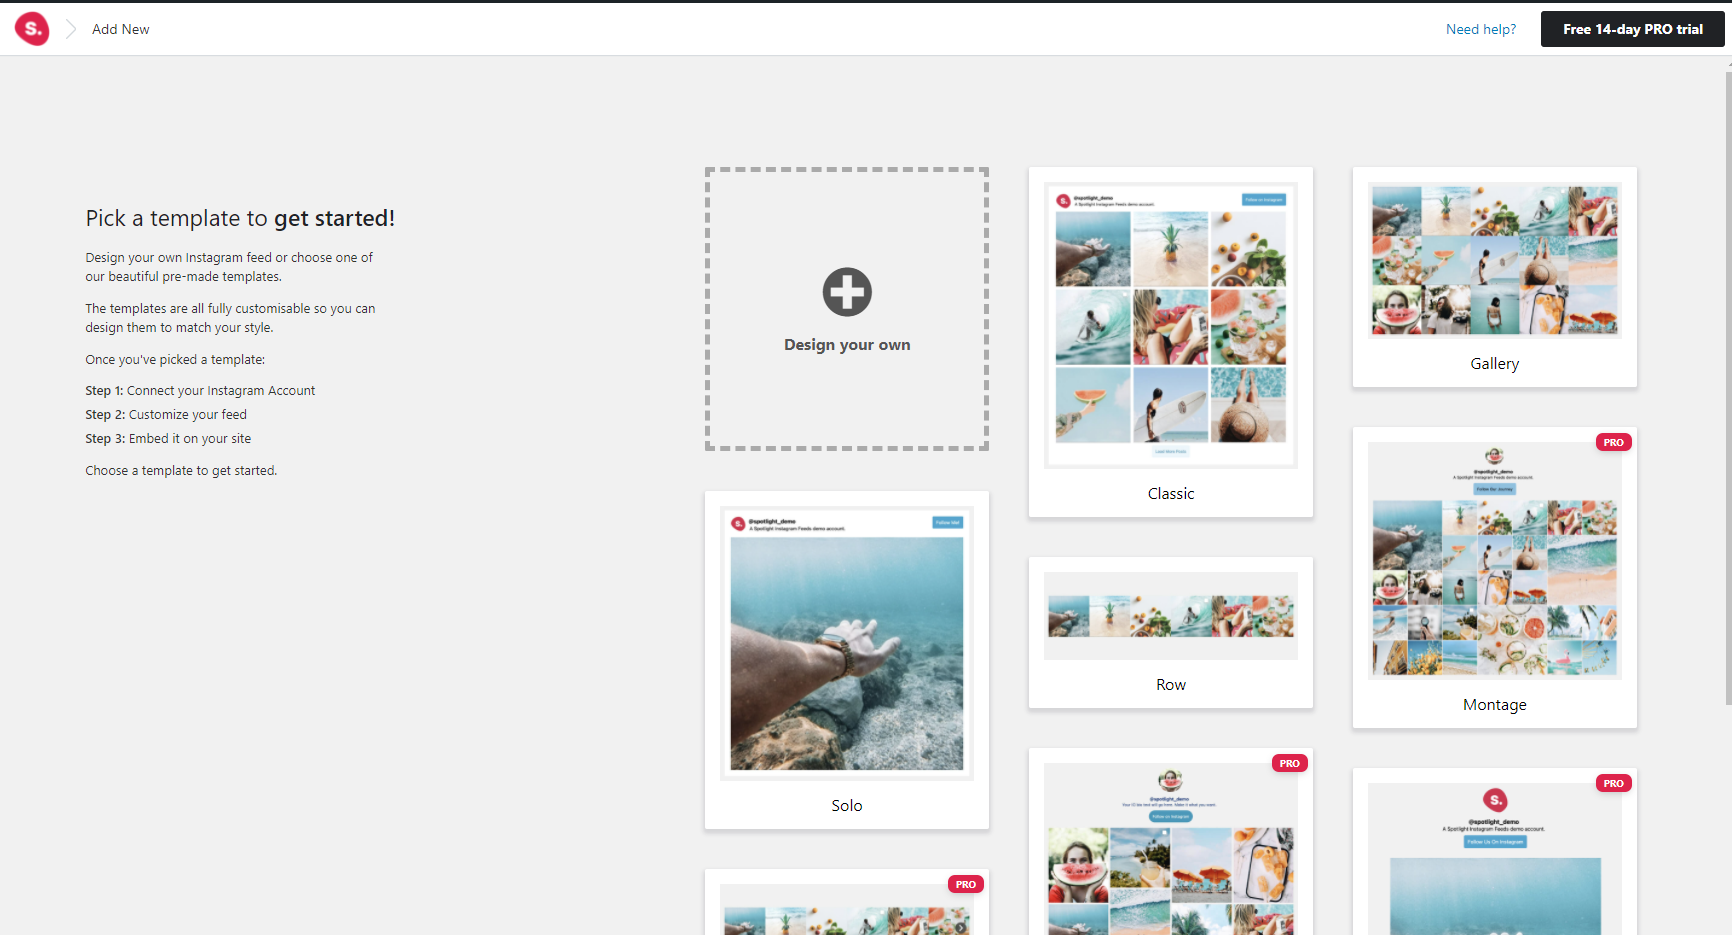
The ten template choices include classic, gallery, row, solo, montage, carousel, brick, slideshow, tile, and a unique pro option. Each template consists of a preview, so choose one that fulfills your desires, and you’re ready to move on.
It is worth noting that only classic, gallery, solo, and row are included in the free version, and you’ll have to upgrade to the PRO version if any of the other templates caught your eye.
We have chosen the one that we thought might fit the site best, which in this case was a row.
Step 3
Once you’ve selected a template, you’ll open the main editor. Further, you can choose if you want to connect a personal account or a business account. Also, another great feature of this plugin that some others lack is connecting your client’s feeds and avoiding using any passwords by generating an access token.
You’ll also be able to preview what the feed will look like on different devices. This way so you can change your mind if you happen not to like some of them.
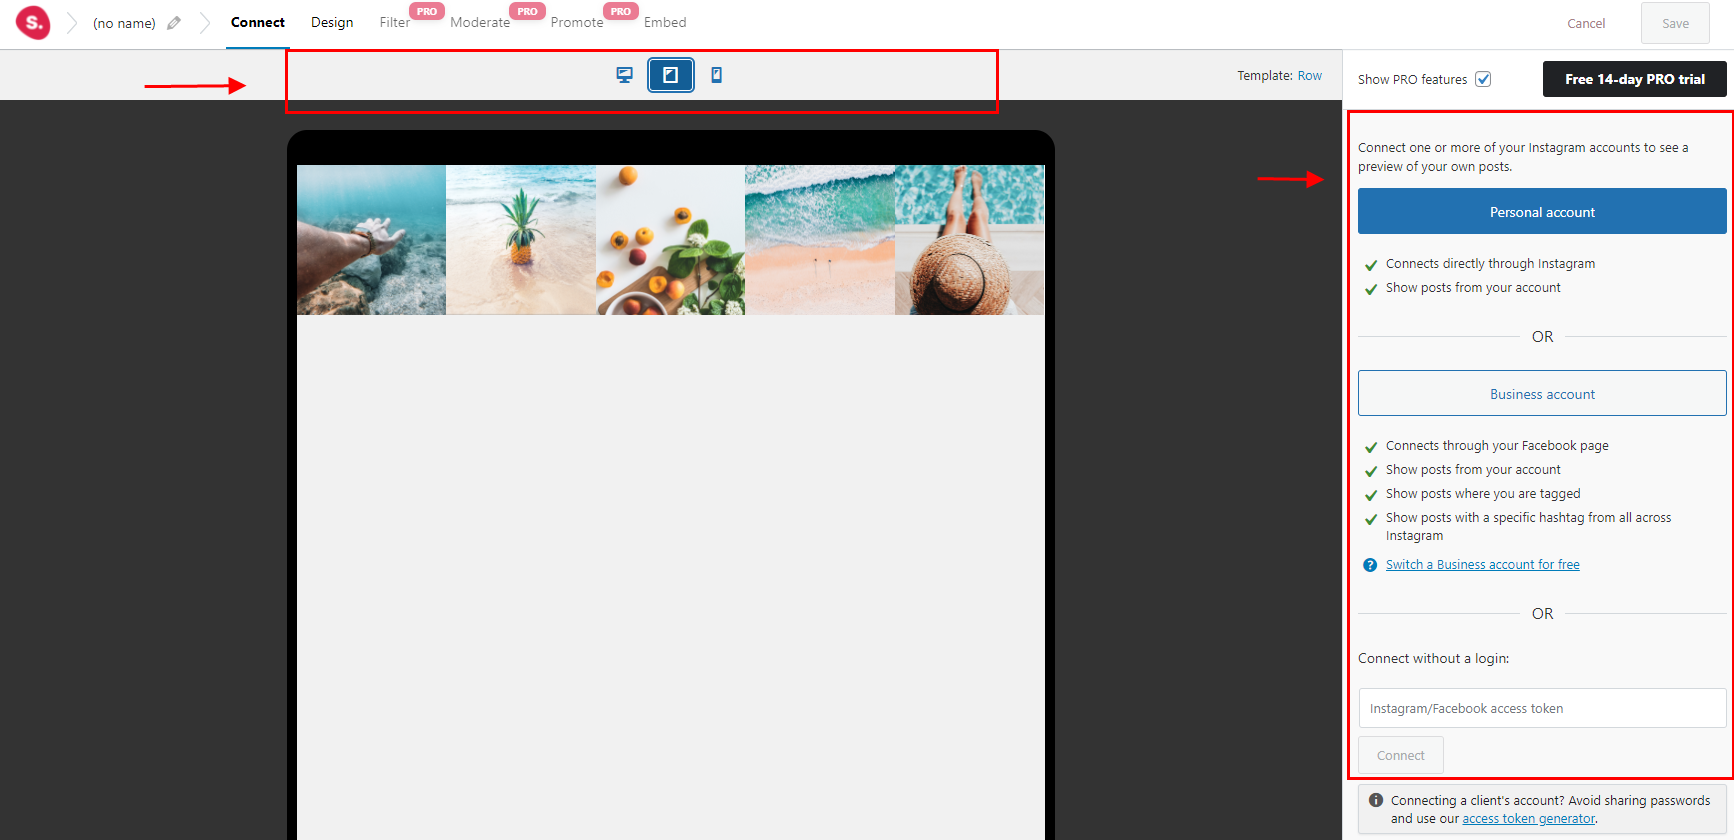
We ended up choosing a different template in the end because it looked better on a tablet display. However, all you have to do is connect an account and do some light customization if you so desire. If not, you could pretty much wrap it up.
Step 4
Now, all that’s left to do is design your feed and make it perfect. You can find all of the customization options on the right side of the editor. Also, you can adjust what you want and leave all the other fields untouched.
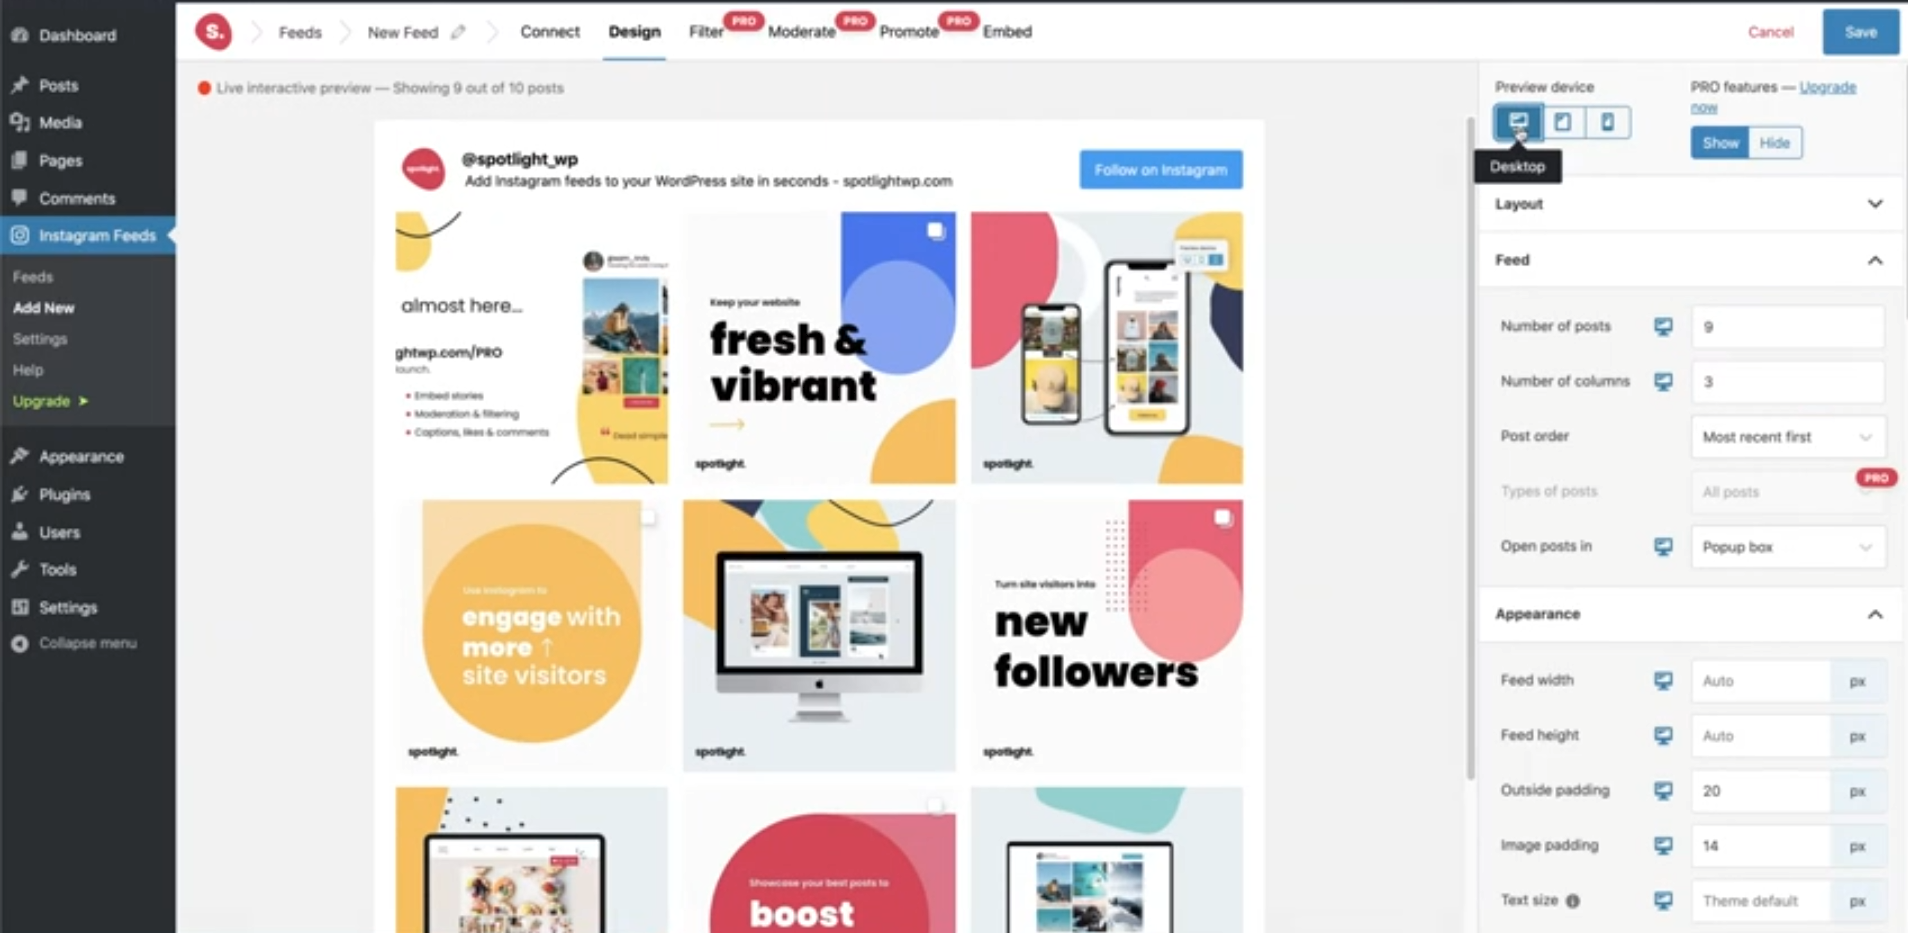
Here you can change the number of posts displayed, how many columns you want there to be. Sort your posts either from the most recent or any of the other options you desire. There are also options to adjust the width of the display, height and add both image and feed padding.
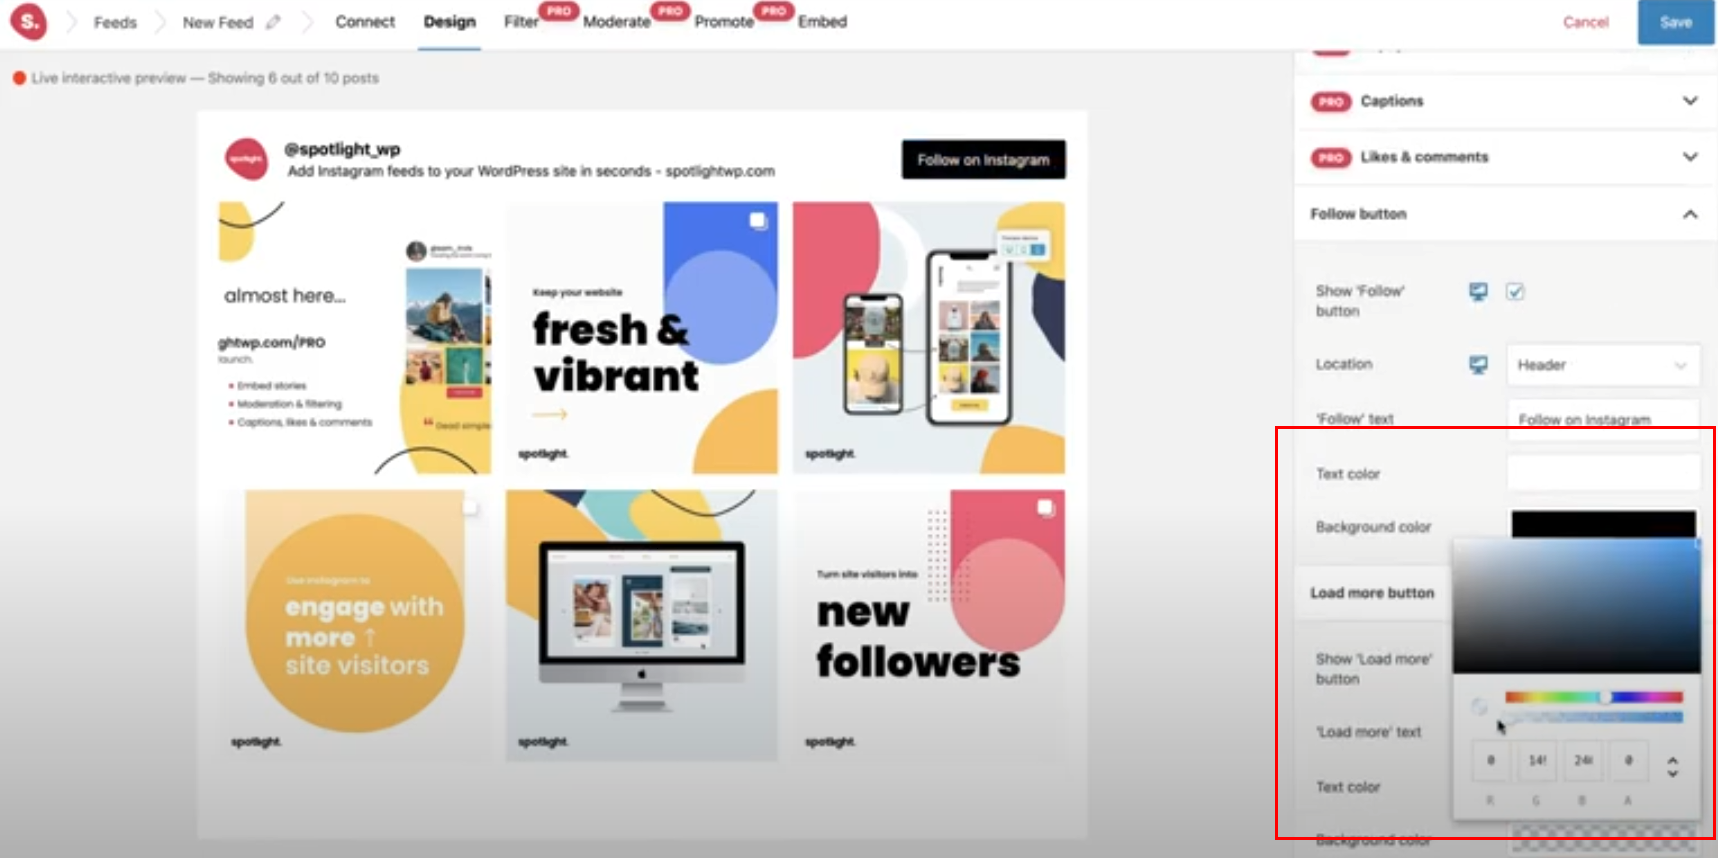
To make sure the feed matches perfectly to your site, add a custom bio, adjust the header texts, size font, and lastly, color. You can also make similar edits to the title and the text you add. Plus, if you want to add a splash of color, use the color slider to add a background color of your choice.
Step 5
We are at the last step of this process. Just click on embed, and there are a few things you can to finish it off. But, the simplest one is to create a post or edit an existing one, right-click and add your Instagram feed where you want it, and watch the magic happen. It’s that simple.
It is worth noting that while in the editor, you’ll notice more customization options, but most of them are locked and are only available through upgrading to the PRO version of the plugin.
Final Tips
Adding an Instagram feed to your site is not only beneficial, but also really simple, so there’s no reason not to do it. Don’t like the plugin we used? You can use a different one. Some similar to Spotlight are Feed Them Social, WPZOOM Social Widget, and 10Web Social Photo Feed.
In addition, if your Instagram feed is essential to you and you don’t mind spending some money on a plugin that comes with just about anything and everything, Smash Balloon’s Instagram Feed Pro is a great option.
If you have any other questions, comments, or recommendations, please let us know below – best of luck.





Comments are closed.