Your computer’s perfectly chugging along. Maybe you’re writing an essay, playing a game, or watching cat videos. And then—bam! A blue screen slams into your face. In big scary letters, it says:
MEMORY_MANAGEMENT
Or maybe:
corrupt PTE
Don’t panic. You’re not alone. These are common Blue Screen of Death (BSOD) errors. And yes, they sound like rocket science, but we’re going to break it down and fix them step-by-step.
📘 What Does MEMORY_MANAGEMENT Mean?
Your computer’s memory isn’t just about how many gigabytes of RAM you have. It’s also about how your system uses that memory. The MEMORY_MANAGEMENT error tells us something is going wrong while Windows tries to store or retrieve information from memory. This can be a glitch, a bad driver, failing RAM… or even just a cosmic hiccup!
🧟 What in the World is a “Corrupt PTE”?
PTE stands for Page Table Entry. Sounds fancy, right? All you really need to know is: it’s part of how your system manages virtual memory. When you get a Corrupt PTE error, it means Windows tried to read from or write to memory, but got confused or found junk data where there shouldn’t be any.
This is often caused by:
- Drivers misbehaving
- Faulty RAM
- Hard drive errors
- A buggy Windows update
Now let’s fix this blue screen and make your PC happy again.
🛠️ Step 1: Check for Windows Updates
Make sure your Windows is up to date. Outdated systems tend to be less stable. To check:
- Press Windows + I to open Settings
- Click Update & Security
- Hit the Check for updates button
This might install a fix Microsoft already prepared for this exact problem.
🔍 Step 2: Test Your Memory (RAM)
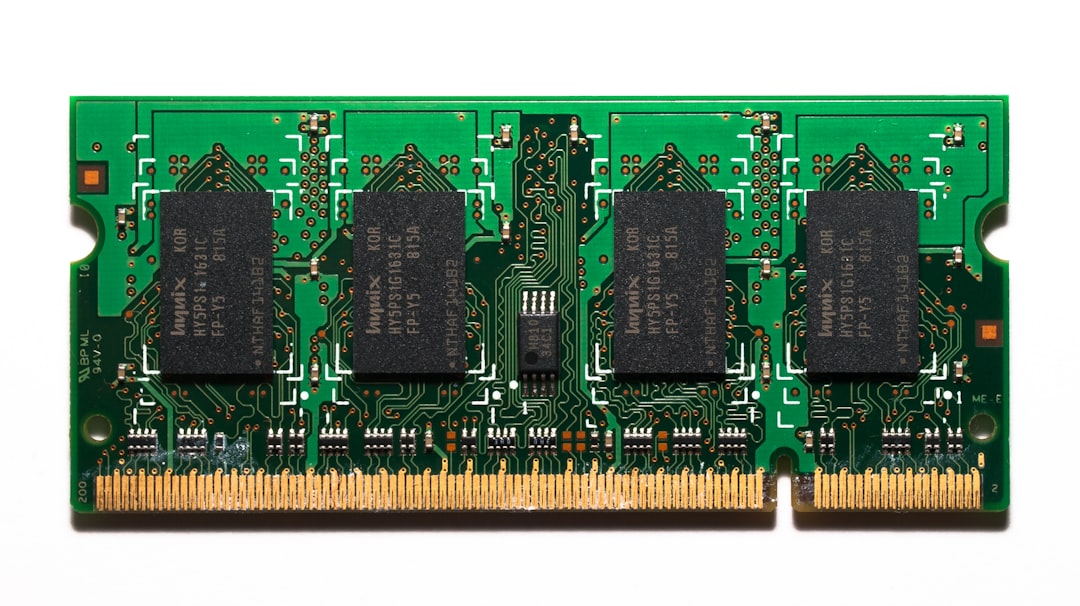
This step is crucial. Faulty RAM is a huge suspect in MEMORY_MANAGEMENT errors. Let’s test it:
- Press Windows + R, type mdsched.exe, and hit Enter
- Choose Restart now and check for problems
Your PC will reboot and run a memory diagnostic. If it finds errors, chances are you’ve got a bad RAM stick.

If you get errors, consider:
- Switching out the RAM one stick at a time
- Replacing the faulty module
It sounds scary, but opening your PC and reseating the RAM is easier than baking cookies (and way less messy).
💾 Step 3: Check Your Disk for Errors
Sometimes, bad sectors on your storage drive can cause memory errors. Let’s check it out:
- Open Command Prompt as Administrator
- Type this command and press Enter:
chkdsk /f /rIt may ask to run the scan on the next reboot. Type Y and restart your PC.
This tool looks for bad spots on your drive and either fixes them or stops Windows from using those areas.
🧹 Step 4: Update Those Drivers!
Outdated or buggy drivers can mismanage memory and crash your system. To update drivers:
- Press Windows + X and select Device Manager
- Expand the key areas like Display adapters, Network adapters, and System devices
- Right-click each device and choose Update driver
Especially focus on graphics and chipset drivers. They’re often the root cause.
❌ Step 5: Disable Fast Startup
Fast Startup tries to boost boot time by keeping parts of the system loaded. But sometimes it causes memory or power-related goofs.
To disable it:
- Search Power Options and open it
- Click Choose what the power buttons do
- Click Change settings that are currently unavailable
- Uncheck Turn on fast startup
Restart your system and see if things improve.
🧼 Step 6: Clean Up the System
Sometimes, software conflict or registry errors can lead to MEMORY_MANAGEMENT issues. Try these tools:
- Disk Cleanup: Search for it in the Start menu and remove temporary files
- CCleaner: Use with care, but great for junk file cleanup and registry repair
- Windows Security: Run a full malware scan
Viruses and unwanted applications can also mess with your memory. Keep them out!
📥 Advanced Fix: Roll Back Drivers
If you recently updated a hardware driver and the BSODs suddenly started happening, try rolling it back:
- Open Device Manager
- Find the device, right-click it, and hit Properties
- Go to the Driver tab and click Roll Back Driver
If available, this will restore the previous version that might be stable.
🔄 System Restore to the Rescue
If things just got bad after an update or new software install, you can use System Restore.
Here’s how:
- Search for System Restore in the Start menu
- Click Create a restore point
- Under System Protection, click System Restore
- Follow the prompts and pick a date before the crashes started
Your files will stay safe. Only system files and settings go back in time.

🔧 Final Step: Run SFC and DISM
These are built-in Windows tools that fix corrupt system files.
- Open Command Prompt as Administrator
- First, run this:
sfc /scannowThen, if that doesn’t help, run:
DISM /Online /Cleanup-Image /RestoreHealthThese search for broken Windows files and patch them up like digital stitches.
🎯 Bonus Tip: Check BIOS Settings
Advanced, but important! If you recently enabled memory settings like XMP in the BIOS, try turning them off. Some systems don’t play nice with aggressive memory timing.
To do this:
- Restart and press DEL or F2 (depends on your PC) to enter BIOS
- Find the memory/XMP section
- Disable or set it to default
Save changes, reboot, and check for crashes.
🎉 You Did It!
That scary MEMORY_MANAGEMENT or corrupt PTE BSOD doesn’t stand a chance now. 💪 Whether it was a faulty driver, a sneaky RAM stick, or just digital static, you’ve gone full tech detective mode.
If the issue’s gone—amazing! If not, it might be time to consult a professional technician or consider a fresh Windows install. But most often, one of the steps above will patch things up nicely.

Now go back to your cat videos. You’ve earned it.


