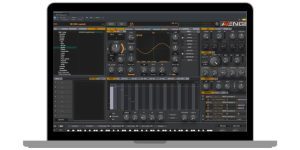
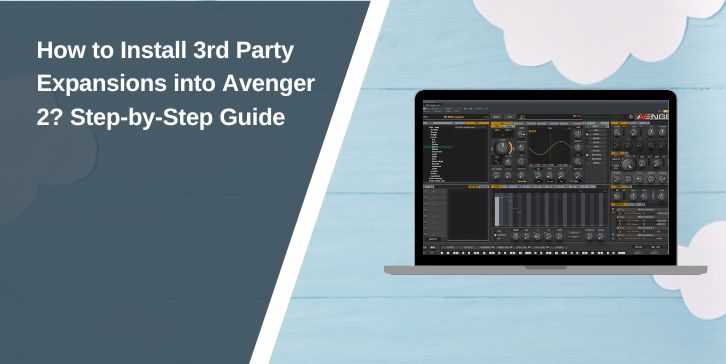
VPS Avenger 2 is one of the most versatile software synthesizers used by producers worldwide. It’s packed with powerful sound design tools, but what really makes it stand out is its ability to load 3rd party expansions. These expansions add new sounds, presets, wavetables, and drum kits, helping you to craft unique tracks effortlessly.
In this guide, you’ll learn how to install 3rd party expansions into Avenger 2 with clear, step-by-step instructions.
What Are 3rd Party Expansions in Avenger 2?

3rd party expansions are additional sound libraries created by developers outside of Vengeance Sound, the company behind Avenger 2. They often include new presets, drum kits, samples, wavetables, and even custom effects. Producers use them to expand their creative palette without starting from scratch.
- Factory Expansions: Official packs by Vengeance Sound.
- 3rd Party Expansions: Packs from independent sound designers and companies.
These expansions work seamlessly with Avenger 2, provided they’re installed correctly.
System Requirements and Compatibility for Avenger 2
Before installing 3rd party expansions, it’s essential to ensure your system meets the necessary requirements to run Avenger 2 smoothly. Here’s the official data for compatibility:
- Operating System: Windows 10 or later (64-bit only) or macOS 10.13 or later.
- Processor: Intel Core 2.8GHz or higher
- RAM: 8GB minimum (more recommended for large expansions)
- Host Compatibility: VST2, VST3, AAX (64-bit only)
- Graphics Card: OpenGL 3.2 capable GPU
Important Points to Note:
- 64-bit Only: Avenger 2 requires a 64-bit operating system to function.
- DAW Compatibility: Ensure your Digital Audio Workstation (DAW) supports VST2, VST3, or AAX plugins.
- Mac Compatibility: Runs smoothly on macOS 10.13 or later.
Having a system that meets these requirements ensures that both Avenger 2 and your 3rd party expansions run efficiently without performance issues.
How to Install 3rd Party Expansions into Avenger 2
Installing 3rd party expansions is straightforward when you follow these steps. This guide ensures your new sounds are ready to use in no time.
Step 1: Open Avenger 2
You need to have Avenger 2 running to access the content management tools. Launch Avenger 2 either as a standalone application or within your DAW (like FL Studio, Ableton Live, Logic Pro).
Step 2: Locate the Expansion Manager
The Expansion Manager is where you manage all your sound libraries, including new expansions.
Here’s how to find it:
- Click on the “System” tab at the top of the Avenger 2 interface.
- Select “Content” from the menu.
- Click on “Import Expansion” to open the file browser.
Step 3: Import the Expansion File
This step transfers the expansion data into Avenger 2’s library.
Here’s how to import the file:
- Navigate to the folder where you saved the
.avxpexpansion file. - Select the file and click “Open”.
- Avenger will automatically process and install the content.
Step 4: Activate the Expansion (If Required)
Some 3rd party expansions require a license key for activation.
Here’s how to activate your expansion:
- If prompted, enter the provided license key.
- Click “Activate” to complete the process.
Step 5: Verify the Installation
You need to ensure the expansion is correctly installed and functional.
Here’s how to verify:
- Go to the Preset Browser in Avenger 2.
- Look for the new expansion in the library list.
- Load a preset to confirm everything is working as expected.
Resolving Common Issues with Avenger 2 Expansions

Installing third-party expansions can sometimes be tricky, and encountering issues during the process is not uncommon. To help you get back on track quickly, here are some common problems you might face and their solutions.
Issue 1: Expansion Not Showing Up
After installation, the expansion doesn’t appear in the preset browser, leaving you unable to access the new content.
To resolve this, navigate to System > Content and click on “Rescan Content Folder” to refresh the content library. Ensure the .avxp file is located in the correct directory where the software expects expansion files to be. If the file was extracted from a ZIP archive, check for hidden folders that may contain the necessary files.
Issue 2: Installation Error Messages
You might encounter error messages such as “Invalid Expansion File” or “Failed to Load Content” during the installation process. First, confirm that the expansion file is not corrupted—try downloading it again from the original source.
Make sure your Avenger 2 software is updated to the latest version, as outdated software can cause compatibility issues. Additionally, verify that the file format of the expansion is supported by Avenger 2.
Issue 3: Missing Sounds or Presets After Installation
Although the expansion appears to be installed successfully, some sounds or presets are missing from your library. Check if all necessary files, such as samples and wavetables, are present in the expansion folder.
Use the “Relocate Missing Files” feature in the content manager to link any missing resources. Also, ensure that no important files were accidentally deleted during the extraction process.
Issue 4: Activation Fails for the Expansion
You’ve entered the license key, but the activation process doesn’t complete successfully. Double-check the license key to ensure it was entered correctly without any typos. Make sure your computer is connected to the internet during the activation process, as some licenses require online verification.
If the issue persists, reach out to the expansion’s developer—they may need to reset your license to resolve the problem.
Where to Find High-Quality 3rd Party Expansions
Looking for fresh sounds? Here are trusted sources for downloading 3rd party expansions:
- Vengeance-Sound.com: The official source for Avenger expansions.
- Loopmasters: A popular site for professional sound libraries.
- Splice: Ideal for downloading individual presets and samples.
- Producer Forums: Communities like KVR Audio and Gearspace offer user-created content.
Best Practices for Using 3rd Party Expansions

Here are 7 tips to keep your Avenger 2 running smoothly with 3rd party expansions:
- Organize Expansions: Sort expansions by genre for quick access.
- Keep Avenger Updated: Regular updates ensure compatibility with new expansions.
- Backup Your Presets: Avoid losing custom sounds during software updates.
- Test Before Live Performances: Verify all expansions are working properly.
- Avoid Pirated Expansions: They can cause software malfunctions.
- Optimize Performance: Close unnecessary applications to free up system resources.
- Join Producer Communities: Learn from other users and discover new expansions.
Conclusion
Installing 3rd party expansions into Avenger 2 is a straightforward process that opens up endless creative possibilities. Whether you’re looking to enhance your sound library with new presets, drum kits, or wavetables, following the steps outlined above will ensure a smooth experience.
By keeping your system updated, backing up your data, and exploring high-quality expansions, you’ll get the most out of Avenger 2. If you’ve encountered any unique challenges or have tips to share, drop a comment below and join the conversation!


