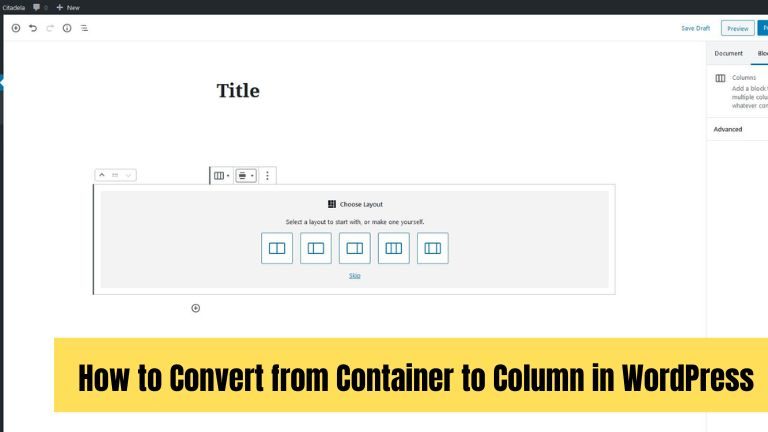
Are you tired of the same old look for your WordPress website? Do you want to create a visually captivating and modern design that will leave a lasting impression on your visitors? Well, look no further! In this comprehensive guide, we will delve into the exciting world of converting from a container-based layout to a column-based layout in WordPress.
Discover how to convert your WordPress website from a container-based layout to a column-based layout in this comprehensive guide. Learn step by step how to choose the right tools, add and configure columns, and optimize your design for a visually captivating and engaging user experience. Transform your website and impress your visitors with a modern and dynamic column layout in WordPress.
Why Change Container to Column in WordPress
As a website owner, it’s important to keep up with the latest design trends and provide an engaging user experience. The traditional container layout, while functional, can sometimes feel a bit stale and lacking in visual appeal. By transitioning to a column-based layout, you can unlock a whole new level of creativity and design flexibility.
Columns offer a dynamic way to organize and present your content. They allow you to create visually pleasing sections side by side, each with its own unique content. Whether you want to showcase your latest blog posts, display product features, or present your portfolio, columns provide a visually striking and organized format.
Now, you may be wondering how to make this transformation happen. Don’t worry, we’ve got you covered! In this guide, we will walk you through each step of the process, making it easy for you to convert your website from a container layout to a column layout.
How to Convert from Container to Column in WordPress
We will start by exploring the different tools and options available for creating column-based layouts in WordPress. From popular page builders to theme options, we’ll help you choose the right tools that suit your needs and skill level. We’ll also provide recommendations for both free and premium options, so you can find the perfect fit for your budget.
Follow the steps below to make this conversion:
Step 1: Choose a Column-based Theme or Page Builder
To create a column-based layout, you’ll need to select a WordPress theme or page builder that supports columns. There are several options available, both free and premium, that provide column functionality. Some popular choices include:
- Elementor
- Divi
- Beaver Builder
- Visual Composer
Choose a theme or page builder that aligns with your design preferences and offers the flexibility you need to create column layouts.
Step 2: Install and Activate the Chosen Theme or Page Builder
Once you’ve selected a theme or page builder, install and activate it on your WordPress website. If you’re using a page builder, it may require a separate plugin installation. Follow the instructions provided by the theme or page builder-developer to ensure proper installation.
Step 3: Create a New Page or Edit an Existing One
To convert your layout to columns, navigate to the page you want to modify. If you’re starting from scratch, create a new page. If you want to convert an existing page, locate it in your WordPress dashboard and click on the “Edit” button.
Step 4: Access the Column Layout Options
Depending on the theme or page builder you’re using, the method for accessing column layout options may vary. Generally, you’ll find these options in the page builder interface or within the page editor. Look for buttons or settings that allow you to add columns.
Step 5: Add and Configure Columns
Once you’ve accessed the column layout options, you can add and configure columns according to your needs. Typically, you can drag and drop column elements onto your page and adjust their width and positioning. Some page builders offer pre-designed column layouts that you can choose from and customize.
Step 6: Customize Column Content
With your columns in place, it’s time to populate them with content. Add text, images, videos, or any other elements you want to include within each column. Customize the content within each column individually, taking advantage of the page builder’s features and settings.
Step 7: Preview and Publish
After you’ve finished customizing your column layout and content, take a moment to preview your changes. Ensure that everything appears as desired and that your columns are displaying correctly. Once you’re satisfied, save your changes and publish the page.
Congratulations! You have successfully converted your WordPress website from a container layout to a column layout. Your website will now have a modern and visually appealing design that is sure to capture your visitors’ attention.
Remember to test your website on different devices and screen sizes to ensure responsiveness and optimal viewing experience. Making adjustments as needed will help you achieve the desired layout and responsiveness for all users.
Conclusion
There you have it! Now you have all the information you need to convert your WordPress website from a container layout to a column layout. By following the steps outlined in this guide, you can transform the visual appearance of your website and create a more modern and engaging design.


Comments are closed.