
If you’re trying to play Minecraft or another multiplayer game through play.hosting and have encountered the frustrating “Can’t Connect to Server” error, you’re not alone. This issue is common among players attempting to access self-hosted servers or third-party Minecraft hosts. Fortunately, there are several practical solutions to resolve this and get back to your gameplay quickly.
TL;DR
The “Can’t Connect to Server” error on play.hosting is commonly caused by network issues, incorrect server addresses, firewall restrictions, or server downtime. Try restarting your router, double-checking the IP and port, and ensuring no firewall or antivirus is blocking access. If the issue persists, reach out to the hosting provider’s support for server-side troubleshooting. Addressing each of these areas systematically can save hours of trial and error.
What Does “Can’t Connect to Server” Mean?
When you see this message while trying to connect to a Minecraft or other game server hosted via play.hosting, it’s typically an indication that your game client cannot establish a communication line with the server. The root causes are usually due to:
- Incorrect IP address or port input
- Server non-responsiveness or downtime
- Local firewall or antivirus restrictions
- ISP throttling or blocked ports
- Outdated game client or server version
Understanding the reasons behind the error is essential for resolving it efficiently.
Step-by-Step Troubleshooting Guide
1. Verify Server Address and Port
Surprisingly often, the issue stems from something as simple as an incorrect address or missing port number. Validate the server’s connection info provided by play.hosting or your server admin. Be sure to enter the:
- Correct IP address (can be a domain name)
- Specific port number if applicable (e.g., play.hosting:25565)
Mistyping or omitting a port can prevent your client from finding the server entirely.
2. Check If the Server Is Online
If the server is down, you will be unable to connect no matter what you try from your side. To confirm:
- Visit your play.hosting server panel and ensure it’s marked as active.
- Use tools like MCSrvStatus or Minecraft Server Status to ping the server remotely.
A response timeout usually indicates that the server isn’t currently accepting connections — either due to maintenance or software misconfiguration.
3. Reboot Your Modem, Router, and PC
Your local network may be the issue. A simple reboot of your router and system can fix temporary glitches or IP conflicts. Follow these steps:
- Turn off your PC
- Unplug your router and modem for about 60 seconds
- Plug them back in, wait for all lights to normalize
- Boot up your PC and try connecting again
Sometimes your IP assignments or DNS cache might cause connectivity hiccups that a fresh start will clear.
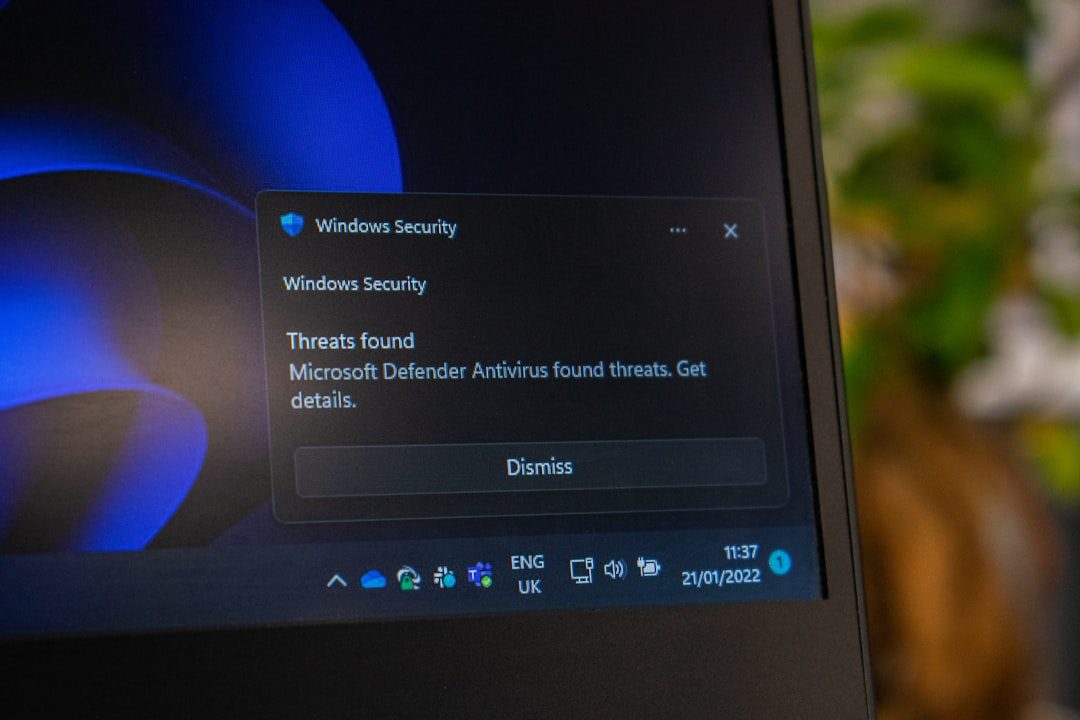
4. Disable Firewalls and Antivirus Temporarily
Antivirus software or firewalls can block your game from accessing the internet. Try these steps:
- Temporarily disable your antivirus or firewall
- Try connecting to the server
- If it works, create a permanent exception rule for Minecraft or your game launcher
Don’t forget to re-enable your security tools afterward for your protection.
5. Use a DNS Like Google or Cloudflare
Sometimes default ISP DNS servers can be unreliable or cache outdated DNS records for your server. Switch to one of these:
- Google DNS: 8.8.8.8 and 8.8.4.4
- Cloudflare DNS: 1.1.1.1 and 1.0.0.1
To do this:
- Go to Network Settings on your system
- Edit your network adapter settings
- Manually enter the DNS values above
A DNS change can improve speed and reliability when accessing game servers.
6. Make Sure You’re on the Right Game Version
Clients and servers running different versions of the game won’t connect. Always verify:
- You are using the server’s supported version (e.g., Minecraft 1.20.4)
- You don’t have conflicting mods that alter network behavior
Launchers like Minecraft Launcher and ATLauncher allow you to easily change the game version.
7. Verify Hosting Configuration via play.hosting
If you’re the server host or have control over the backend, check the server logs and settings on play.hosting. Look out for:
- Port bindings – Ensure the server is listening on the correct port
- Errors related to plugin or mod conflicts
- Firewall rules applied by the host blocking connections
The control panel usually has console access where you can search for error logs mentioning IP or port bind failures.
Advanced Troubleshooting
Check Server Whitelisting
If the server uses a whitelist and your username is not on it, you’ll be denied entry. A common oversight, especially when setting up private servers. Ask the server admin to add your username to the whitelist.json file or toggle whitelist settings in the control panel.
Server Location Reflection
Try pinging the server from your terminal or command prompt:
ping play.hosting
If you get request timed out messages, the issue could be physical distance from the server, high latency, or blocked ICMP protocols in your country or by your ISP.
Contact Hosting Provider
If all else fails, the provider themselves may be the only ones able to resolve the issue. Contact play.hosting support with the following details:
- Exact error message
- Steps you’ve already tried
- Your server name and IP
The support team may need to check server logs or perform backend fixes on your behalf.
Prevention Tips for Future Connectivity
- Bookmark correct server details in a safe document
- Enable server backups to prevent configuration loss
- Use monitoring tools to get alerts if your server goes offline
- Keep your client and server versions synchronized
Final Thoughts
Getting hit with a “Can’t Connect to Server” error while using play.hosting is annoying but fixable. Often it’s just a matter of double-checking details or refreshing your network stack. By following the steps above, you greatly increase your chances of resolving the issue quickly and minimizing game downtime. If ever in doubt, don’t hesitate to reach out to your hosting provider for hands-on assistance.
Game on — and may your server always be up and waiting for you!


