Curved lines are like noodles for your artwork. They wiggle, loop, swoop, and make everything feel alive. In vector design, curves help you draw logos, icons, letters, characters, patterns, and smooth illustrations. The best part? You do not need magic. You just need a few simple techniques.
TLDR: Curved lines are made with tools like the Pen tool, Pencil tool, shapes, brushes, and point handles. Start with simple curves, then refine them with anchor points. For example, a designer making a coffee logo may use just 3 curved strokes to create steam, then adjust each curve by 10% to make it feel softer. In a small icon set, using smooth curves can make artwork look more polished and may cut editing time by about 30%.
1. Use the Pen Tool for Clean Curves
The Pen tool is the classic curve maker. It uses anchor points and handles. Click to make a point. Click and drag to make a curve.
Think of the handles like tiny steering wheels. They control the direction and strength of the curve.
- Click once for a corner.
- Click and drag for a curve.
- Long handles make wide curves.
- Short handles make tight curves.
Tip: Use fewer points. A smooth curve often needs only two or three anchor points. Too many points make the line bumpy.
Image not found in postmeta2. Try the Pencil Tool for Natural Lines
The Pencil tool feels more like drawing by hand. You drag the cursor, and the software creates a vector path.
This is great for sketchy art. It is also fun for loose shapes, leaves, hair, waves, and playful icons.
Most vector apps let you adjust the smoothness. A higher smoothness setting removes tiny shakes. A lower setting keeps your hand drawn style.
Use this tool when you want a curve that feels human. Use the Pen tool when you need total control.
3. Build Curves with Circles and Ovals
Here is a sneaky trick. You can create curved lines from simple shapes.
Draw a circle or oval. Then cut away the part you do not need. Now you have a perfect arc.
This works well for:
- rainbows
- smiles
- badges
- speed lines
- interface icons
It is fast and tidy. It also gives you curves that are mathematically smooth. Fancy, right?
4. Use Arc Tools for Quick Bends
Some vector programs include an Arc tool. It draws a curved segment in one move.
You click, drag, and adjust the bend. Done.
This is useful for small details. Try it for eyebrows, handles, motion marks, decorative lines, and simple plant stems.
Small secret: Arcs look better when the line weight matches the rest of the artwork. A thin arc beside thick shapes may look weak. A thick arc beside thin details may shout too loud.
5. Learn the “S Curve”
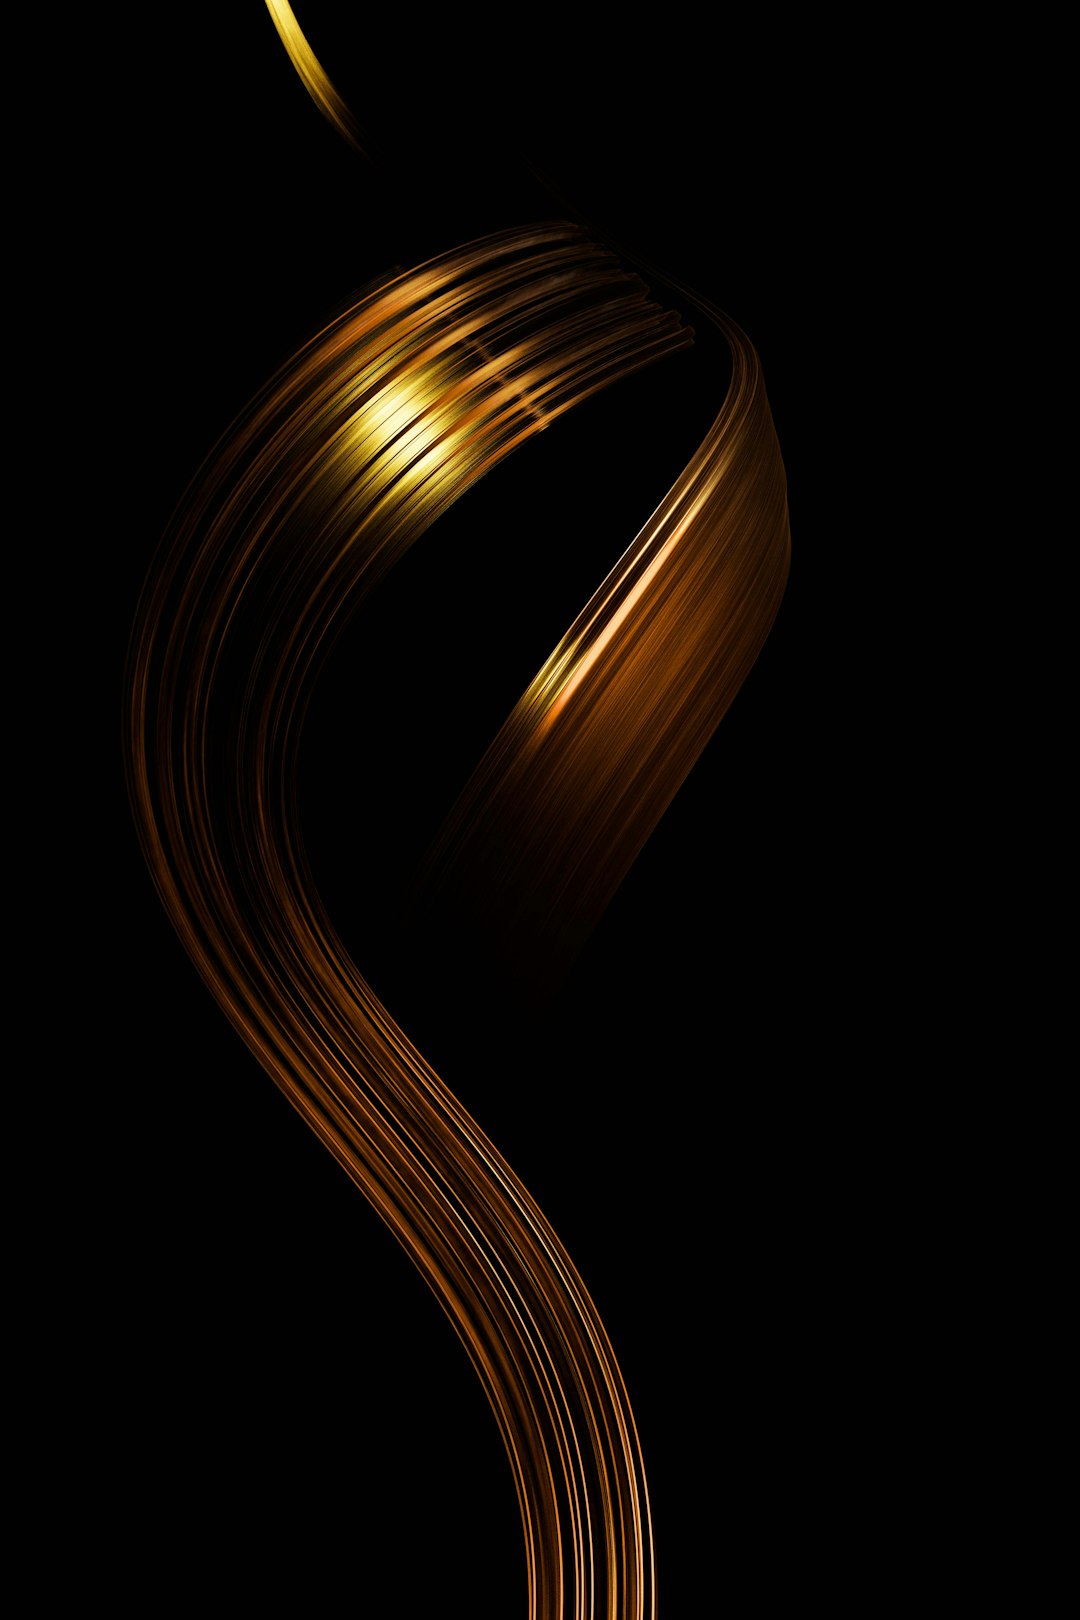
The S curve is one of the most useful shapes in illustration. It gives flow. It feels graceful. It adds movement.
You see S curves in ribbons, rivers, hair, smoke, vines, and dancing poses.
To draw one, place one anchor at the start, one in the middle, and one at the end. Pull the handles in opposite directions. The line should bend one way, then the other.
Do not make it too stiff. Let it breathe. A good S curve feels like it is floating.
6. Adjust Handles with Care
Handles are the heart of smooth curves. But they can be tricky at first.
If your curve looks lumpy, check the handles. They may be too long, too short, or pointing in the wrong direction.
Here is a simple handle rule:
- Same direction makes a smooth flow.
- Sharp angle makes a corner.
- Balanced handles make the curve calm.
- Uneven handles make the curve more dramatic.
Try not to fight the curve. Move one handle at a time. Tiny changes matter.
7. Convert Corners into Curves
Many vector apps let you turn sharp corners into rounded curves. This is a quick way to soften a design.
For example, draw a triangle. Then round the corners. Now it looks like a guitar pick, a play button, or a cute sticker shape.
This technique is great for modern logos and icons. Rounded curves feel friendly. Sharp corners feel bold and serious.
Use both if you want contrast. A soft curve beside a sharp edge can look very stylish.
8. Use Brushes for Expressive Curves
Vector brushes can turn a plain path into something lively. You draw a curve. Then the brush adds style.
You can make the line look like ink, chalk, marker, rope, fur, or a ribbon. Some brushes change thickness as the curve moves.
This is perfect for illustration. A simple curved line can become a cat tail, a splash of sauce, or a gust of wind.
Tip: Do not use too many brush styles in one design. Two or three are enough. More than that can look messy.
9. Smooth and Simplify Your Paths
After drawing, your curve may have too many points. This happens often with freehand tools.
Use a Smooth or Simplify feature. It removes extra points and keeps the shape clean.
This helps a lot in logo design. Clean paths scale better. They also print better. They are easier to edit later.
Imagine drawing a wave with 40 anchor points. That is a lot to manage. After simplifying, it may need only 8 points. Much nicer.

10. Practice Curves with Real Objects
The best way to get better is to copy curves from real life. Look around you. Curves are everywhere.
Try drawing:
- a banana
- a spoon
- a coffee cup handle
- a plant leaf
- a pair of glasses
- a sleepy cat tail
Start with the biggest curve first. Add smaller curves later. This keeps the drawing simple.
You can also trace over a photo for practice. Do not worry about making it perfect. Focus on understanding the curve.
Common Curve Mistakes
Everyone makes wobbly curves at first. That is normal. Even pros push points around all day.
Watch for these common mistakes:
- Too many anchor points: This makes curves bumpy.
- Handles that are too long: This creates wild bends.
- Uneven line weight: This can make the curve feel broken.
- Flat spots: These appear when handles do not follow the curve.
- Over smoothing: This can remove character from hand drawn lines.
If a curve looks wrong, zoom out. Your eyes may be too close. Then flip the artwork horizontally. Mistakes often become easy to see.
A Simple Practice Exercise
Open your vector app. Draw ten curved lines. Make each one different.
- Draw a smile.
- Draw a frown.
- Draw a wave.
- Draw a loop.
- Draw an S curve.
- Draw a spiral.
- Draw a leaf stem.
- Draw a ribbon.
- Draw smoke.
- Draw a bouncing motion line.
Then look at your lines. Which ones feel smooth? Which ones feel stiff? Fix only one thing at a time. That is how you learn faster.
Final Thoughts
Curved lines make vector design feel alive. They can be neat, wild, cute, elegant, or dramatic. The trick is to choose the right method for the job.
Use the Pen tool for control. Use the Pencil tool for freedom. Use shapes for perfect arcs. Use brushes for personality. Then smooth your paths and keep practicing.
Most of all, have fun with it. Curves are not scary. They are just lines that decided to dance.