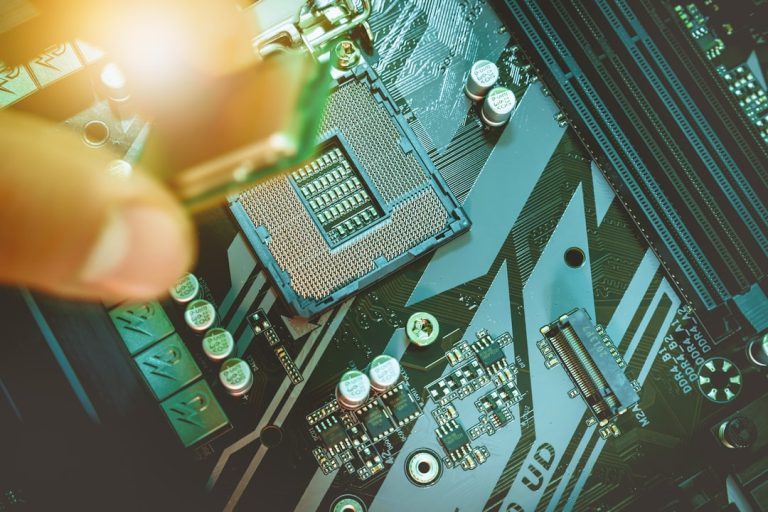
If you’ve powered on your PC and noticed a red CPU light glowing on your motherboard, it can be both confusing and alarming. Many modern motherboards include diagnostic LEDs that help pinpoint issues related to critical components like the CPU, RAM, GPU, and boot devices. A red CPU LED indicator typically signals a problem with the processor or its immediate surroundings—something that demands prompt attention.
TL;DR
A red CPU light on your motherboard usually means the system is having trouble detecting or initializing the processor. Common causes include improper CPU installation, bent pins, power issues, or BIOS problems. Fixes range from simple reseating of components to more technical updates and replacements. Diagnosing the exact source requires a careful, step-by-step approach.
What Does the Red CPU Light Mean?
On most motherboards, built-in diagnostic LEDs (called Q-LEDs or POST LEDs) help users identify which piece of hardware is failing. These lights are typically color-coded and labeled as follows:
- CPU – Usually red
- DRAM – Generally yellow or amber
- VGA/GPU – White
- BOOT – Green or white
If the red CPU light remains illuminated after powering on, the system is unable to complete the POST (Power-On Self-Test) due to a CPU-related issue.
Common Causes of a Red CPU Light on the Motherboard
There are several reasons why your motherboard might display a red CPU LED. Below are the most frequent culprits:
1. Improper CPU Installation
The CPU must be correctly seated in its socket. Even minor misalignment can prevent the motherboard from detecting it properly.
- Make sure the CPU is oriented correctly according to the notches or triangle markers.
- Check that the CPU retention arm is locked down completely.
2. Bent or Damaged Pins
On Intel CPUs, pins reside on the motherboard socket, while on AMD, they are on the CPU itself. If any pins are bent or missing, the connection may fail.
- Use a magnifying glass to inspect pins closely.
- In some cases, bent pins can be carefully straightened using a mechanical pencil or a razor edge.
3. CPU Power Cable Not Connected
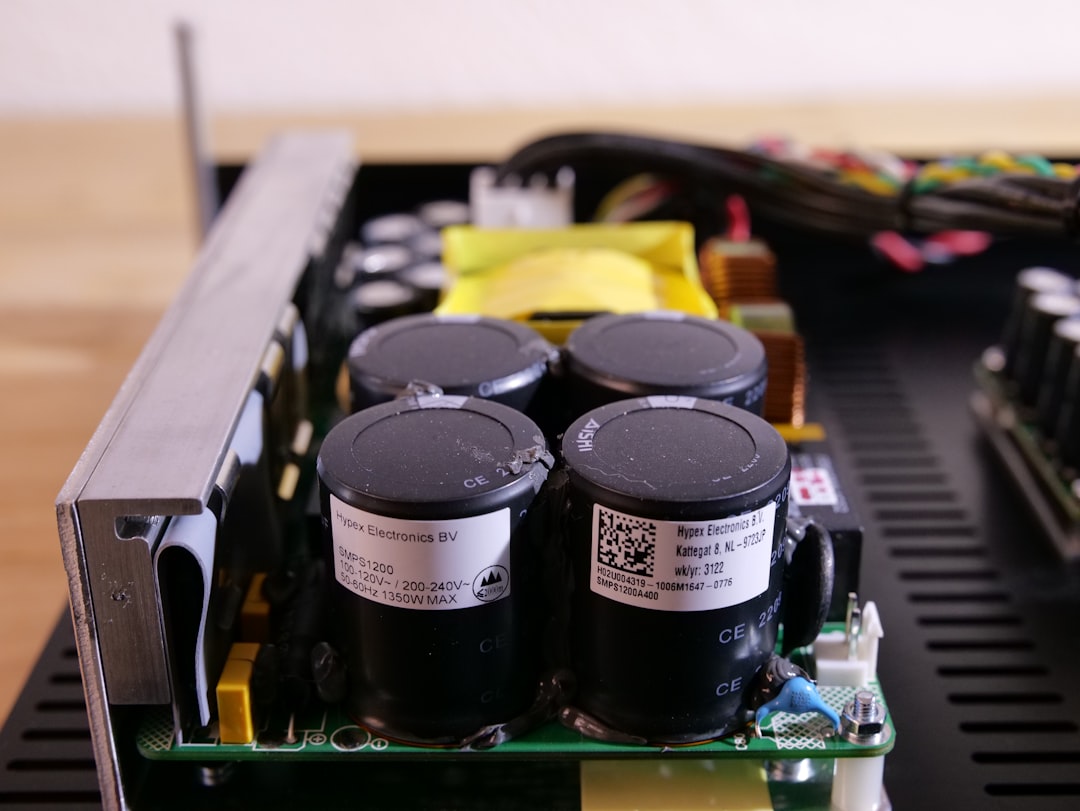
Aside from the 24-pin motherboard connector, your system also needs the 4-pin, 8-pin, or even dual 8-pin CPU power connector plugged in, typically located near the processor socket.
- Ensure the EPS (CPU) power cable is securely attached.
- Verify the PSU is functioning correctly and supplying stable power.
4. BIOS Incompatibility
Newer CPUs may require a BIOS update to be supported. If your CPU is too new for the motherboard’s current BIOS version, it might not boot at all.
- Look up your motherboard’s supported CPUs and required BIOS versions on the manufacturer’s website.
- If needed, perform a BIOS update using an older CPU or BIOS FlashBack feature if available.
5. Overheating or Thermal Detection Failure
CPU overheating or a failure in temperature sensors can also trigger motherboard protection mechanisms and turn on the red CPU light.
- Ensure the CPU cooler is properly installed with adequate thermal paste.
- Check that the fan is spinning and correctly connected to the CPU_FAN header.
6. Motherboard or CPU Defect
In rare cases, the motherboard or CPU may be defective. A damaged power phase, trace, socket, or internal CPU error will cause POST to fail.
- Test the CPU on another compatible motherboard if possible.
- Consider warranty support or return options for further diagnosis.
How to Fix a Red CPU Light on the Motherboard
Depending on the root cause, you can try several troubleshooting steps. Always start with basic fixes before moving on to more complex or costly options.
1. Power Down and Check Connections
- Unplug the system and hold down the power button for 10 seconds to discharge electricity.
- Reconnect all CPU and motherboard power cables securely.
2. Reseat the CPU
- Remove the CPU cooler carefully and then the CPU.
- Inspect the socket and CPU for debris, bent pins, or thermal paste interference.
- Reinstall the CPU, ensuring correct alignment and secure socket locking.
3. Clear CMOS
Resetting the BIOS can solve many configuration conflicts:
- Either remove the CMOS battery for a minute or use the CMOS jumper on the motherboard.
- This resets BIOS settings to factory defaults.
4. BIOS Update
- Download the latest BIOS file from your motherboard manufacturer’s website.
- Follow instructions to update via USB, often through the BIOS utility itself.
- If your motherboard has “BIOS FlashBack,” you may not even need a compatible CPU installed.
5. Test with Another PSU or CPU
Swapping components can quickly confirm whether your existing parts are defective.
- Use an alternate power supply known to be working with sufficient wattage.
- Test the CPU in another compatible motherboard if available.
When to Contact Support or Consider Replacement
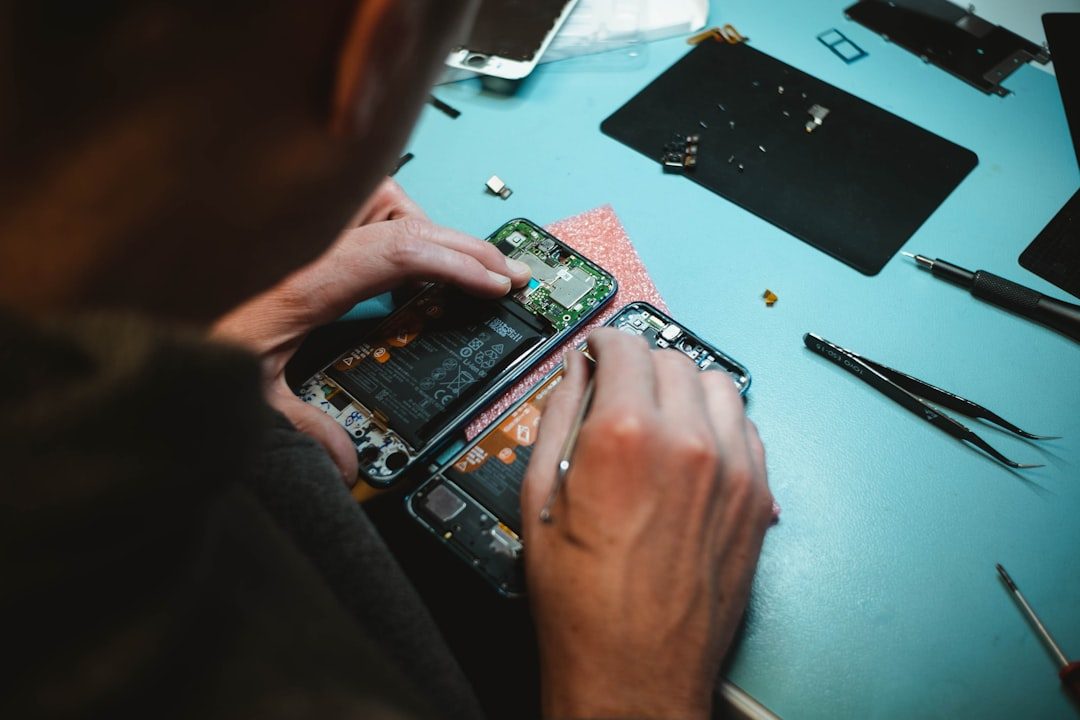
If all else fails and the red CPU light persists, it’s time to seek professional support. Hardware failure is often covered under warranty by both the motherboard and CPU manufacturers.
- Check warranty terms and initiate an RMA if within the coverage period.
- Visit authorized service centers or contact tech support for further diagnostics.
Prevention Tips
While hardware faults may not always be avoidable, there are steps you can take to reduce the chances of encountering the dreaded red CPU light:
- Always handle the CPU with care—avoid touching the pins or underside.
- Double-check motherboard and CPU compatibility before assembling your system.
- Use a motherboard standoff kit to avoid short circuits or grounding issues.
- Make BIOS updates part of your maintenance plan, especially before CPU upgrades.
Final Thoughts
A glowing red CPU light on your motherboard can seem dire, but in many cases, the fix is quite simple—like a loose connection or outdated BIOS. Methodical troubleshooting will usually identify the issue. However, when all standard protocols fail and you’re left with persistent problems, it’s worth considering a component replacement or professional inspection. Time and care spent now can save significant costs and downtime later.
