
You are the site’s owner, and believe me when I say you want to be higher up in Google’s search results. Fortunately, you can minimize the file sizes of your images to enhance the efficiency of your website.
One issue with optimizing images is that changes frequently diminish their quality. That’s not necessarily a terrible thing, as long as you don’t make them look awful.
There are several tactics and strategies that allow you to reduce the file size of an image while still keeping it attractive enough to proudly show it on your website. So, let’s look at some of them!
What Exactly Is Image Optimization?
Large graphics slow down your web pages, resulting in a less-than-ideal user experience. Image optimization is the process of reducing the size of an image’s file using a plugin or script, which in turn reduces a page’s load time. Lossy and lossless image compression are two widely used approaches.
The Advantages of Image Optimization
First and foremost, why do you need to optimize your images? What are the advantages? Optimizing your images for performance has various advantages. As of November 2018 (according to HTTP Archive), images account for an average of 21% of the total weight of a site. So, after video content, images are by far the best place to start when it comes to optimizing your WordPress site!
Here are the primary advantages:
- It will increase the speed at which your page loads. If your page needs a while to load, your visitors may become frustrated and move on to something else.
- It boosts your SEO when used with a good WordPress SEO plugin. Your website will go up in search engine rankings. Large files slow down your website, which search engines despise. Google may also crawl and index your images more quickly for Google image search. Do you want to know how much of your traffic originates from Google image search? To monitor Google image search traffic, you may use a Google Analytics WordPress plugin.
- Backups will be created more quickly.
- Image file sizes that are smaller consume less bandwidth. This will be appreciated by networks and browsers.
- It requires less storage space on your server.
How to Optimize Images for Web and Performance

The basic purpose of image optimization is to strike a compromise between small file size and adequate quality. Almost all improvements can be made using more than one method. One of the most common methods is to simply compress images before uploading them to WordPress. Typically, this may be accomplished using a product such as Adobe Photoshop or Affinity Photo. Some of these activities may also be accomplished with the help of plugins, which we shall discuss below.
The file format and type of compression you select are the two most important factors to consider. You may reduce the size of your image by up to 5 times by using the appropriate mix of file format and compression type. You’ll need to test each image or file type to find what works best.
The best solution to optimize your images is the WP Compress plugin!
WP Compress dynamically changes images and scripts based on the incoming visitor to improve load times, reduce bounce rates, and enhance the overall user experience.
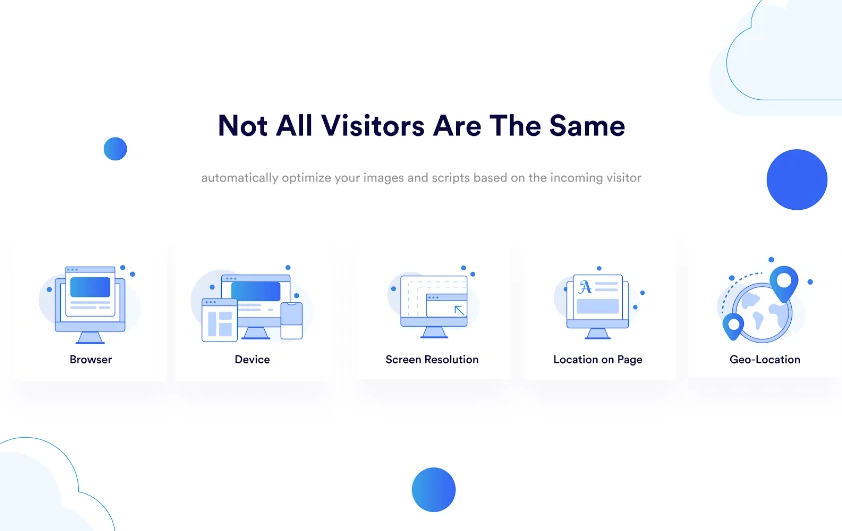
Give your website the ability to intelligently generate the best image based on the device, browser, screen resolution, placement on the page, and geolocation of the incoming visitor.
Their high-speed multi-layer CDN will load media from the nearest server to the incoming visitor, allowing you to greatly improve site performance and user experience.
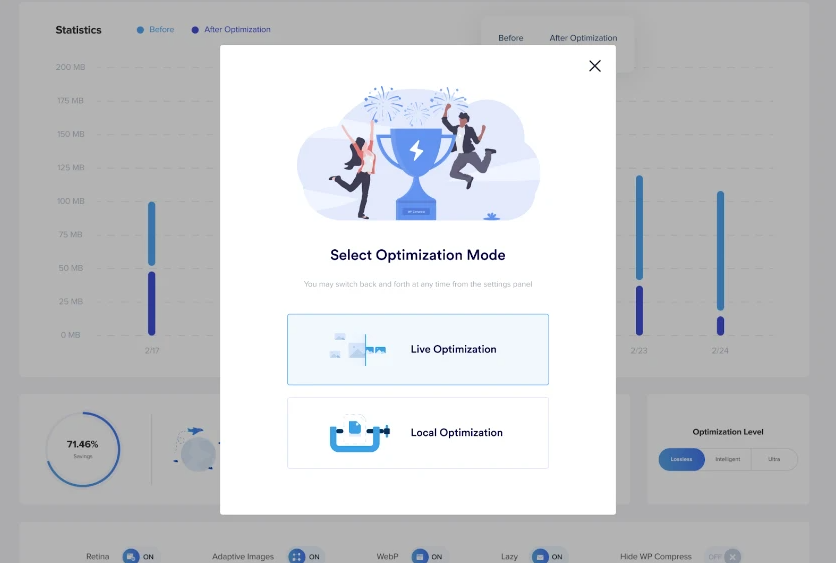
WP Compress is designed to be hands-free after installation – just connect your website, and you’ll be good to go with real-time optimization in approximately 60 seconds! If you prefer local optimization, you may enable auto-optimize on upload with a single click and never worry about an image being too large again!
WP Compress makes it simple to deliver a fantastic user experience for every visitor by dynamically optimizing your site’s graphics and scripts based on the visitor.
What Else Can You Do to Optimize Your Images?
Choose the Right File Format
Before you start modifying your images, choose the best file type. There are several file types you can use:
PNG – creates higher-quality images but has a greater file size. It was designed as a lossless image format, although it may also be lossy.
JPEG – employs both lossy and lossless optimization. You may change the quality setting to get a good balance of quality and file size.
GIF – utilizes just 256 colors. It’s the best option for animated graphics. It exclusively takes advantage of lossless compression.
Optimization (Lossy vs. Lossless)

It is also critical to realize that there are two types of compression available: lossy and lossless.
Lossy – a filter that removes some of the data. This will impair the image, so be cautious about how much you compress it. The file size can be significantly decreased. To change an image’s quality settings, utilize applications like Adobe Photoshop, Affinity Photo, or other image editors.
Lossless – this is a data compression filter. This has no effect on image quality, but it does necessitate the images being uncompressed before they can be produced.
Summary
After you’ve optimized your images for performance and followed the best practices, your site will be more popular with search engines, browsers, and networks, and it will load faster for your visitors. Do you have something to say? Please share your tips and best practices in the comments section below!


Comments are closed.