Blogs and websites have grown more and more visual over the years – and for good reason. Walls of text are seldom appealing, so it makes sense to use photos to attract attention and provide context while making their posts look much more attractive at the same time.
However, that means that you need to be able to take reasonably good photos for your blog or website – which can be challenging if you don’t have a background in photography. More than anything however it helps to know how to start:
Always Make Sure There’s a Lot of Light
The lighting will have a profound impact on the photos that you snap and can affect it in numerous ways. When you first start out, however, your focus should be on making sure there’s lots of light – and that it is preferably soft and diffused so that there aren’t any harsh shadows.
Try snapping photos with natural light streaming in through a large opening such as a window or door – but don’t let the light source itself be in the frame.
Keep the Camera Steady
When you’re snapping a photo your camera should be completely still – which is why you need to learn how to keep it steady. A good start is to get into the habit of always holding it with both hands, and keeping your elbows close to your side so you have additional support.
Position the Subject Off-Center Using the Rule of Thirds
Capturing photos where the subject is off-center can make it look more aesthetically pleasing – and one of the easiest techniques to use is the rule of thirds. All you need to do is turn on the ‘grid’ feature on your camera, then position the subject and other elements based on the grid (i.e. its lines and intersections).
Overall your photos should be a lot more balanced if you use this composition technique as well.
Fill the Frame With the Subject
Another great way to snap impressive photos is to get up close and completely fill the frame with the subject. As you can imagine this will reveal details that may not be visible otherwise, and make the subject the sole focus of attention.
It is important to note that if you do use this technique you should always try to get physically closer rather than using the ‘zoom’ – as it could affect the image quality.
Try Snapping Vertical Shots
While horizontal photos are great for feature images that span the width of your content – vertical photos tend to be far better when placed inside it, as they can accompany the text while being displayed at a larger size. If nothing else you should experiment with vertical shots from time to time and see if you can work them into your posts.
Wrapping Up
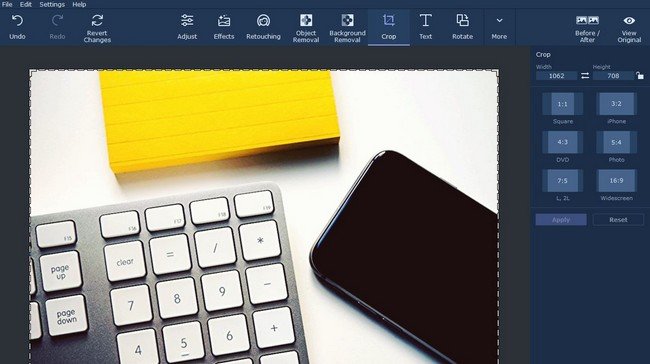
While starting to take better photos for your blog or websites is great – you should also try to get into the habit of editing them to make small alterations and improvements where necessary. Initially you could focus on cropping, fixing the white balance or just applying filters – and for example, could use Movavi Photo Editor for Mac.
As you can see you don’t need to be an expert photographer to use any of the tips and methods listed above – and most are very straightforward. More importantly, they will allow you to start snapping better photos for your blog or website almost immediately, and you should be able to (literally) see the difference that it makes.
With a bit of practice, you’ll start to be able to capture much more impressive photos using these tips.


Comments are closed.