
Google Analytics is a powerful tool that provides insights into your website’s performance, user behaviour, and more. Integrating Google Analytics with your WordPress site is crucial for understanding your audience and optimizing content.
In this guide, we’ll walk you through the step-by-step process of adding Google Analytics to your WordPress website.
Section 2: Why Add Google Analytics to WordPress?
Google Analytics is a free web analytics service offered by Google. It tracks and reports website traffic, helping you analyze user interactions and make data-driven decisions to enhance your online presence.
Here is why to add Google Analytics to your site:
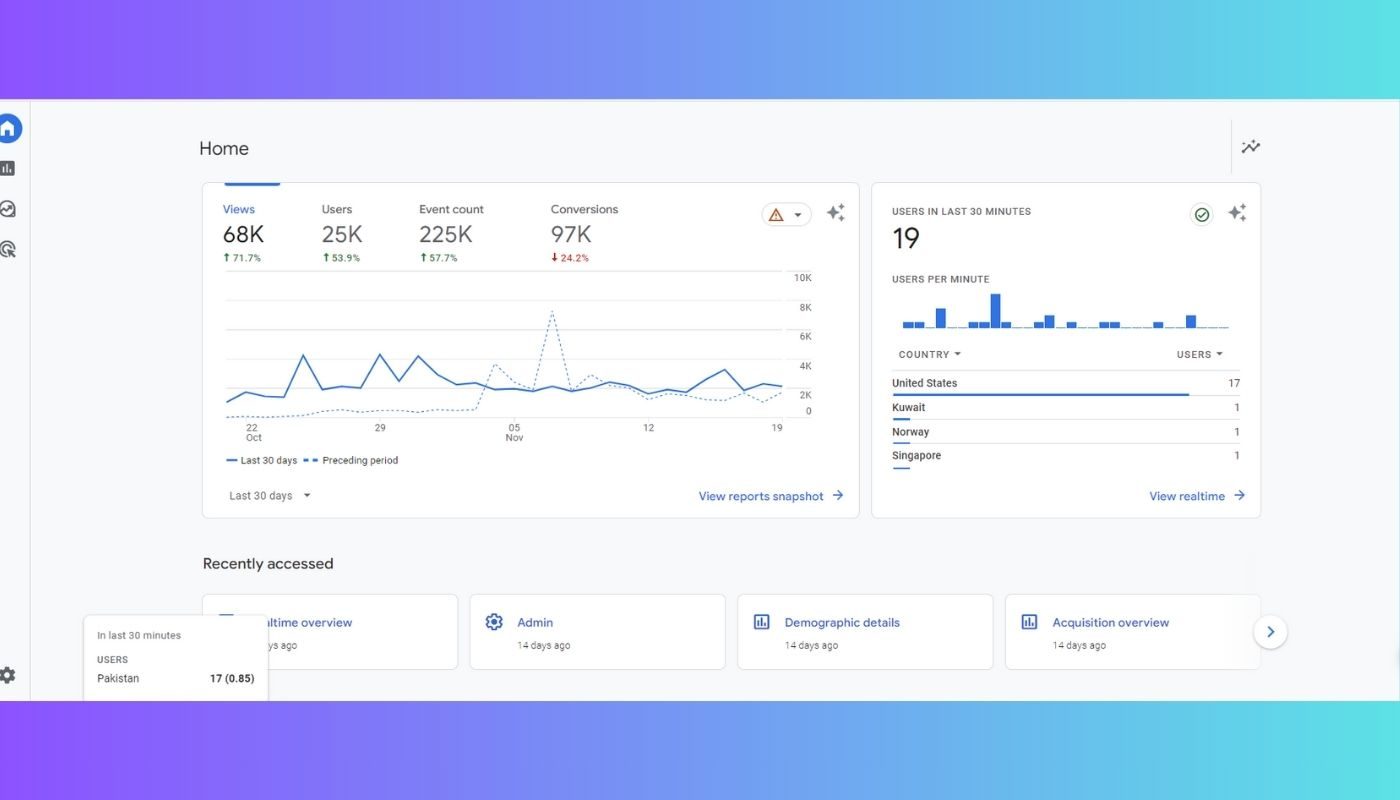
- Visitor Insights: Google Analytics provides detailed information about your website visitors, including their geographic location, devices used, and browsing behaviour.
- Content Performance: Track the performance of your content to understand which pages are popular, how long users stay, and what content they engage with the most.
- Traffic Sources: Identify where your traffic comes from, whether it’s through search engines, social media, or other referral sources.
- Use UTM Tracking in WordPress – UTM parameters help Google Analytics track traffic sources, allowing you to measure campaign performance more accurately.
How to Add Google Analytics to WordPress?
Now, let’s go through the process of adding Google Analytics to your WordPress website.
1. Create a Google Analytics Account
If you don’t have a Google Analytics account, create one by visiting the Google Analytics website and following the sign-up process.
2. Set Up a Property
After creating an account, set up a property for your WordPress website. You’ll receive a unique tracking code.
3. Copy the Tracking Code
Once your property is set up, copy the provided tracking code. This code is essential for linking your WordPress site to Google Analytics.
4. Install a Google Analytics Plugin
To simplify the process, use a WordPress plugin. One popular option is “MonsterInsights.” Install and activate the plugin.
5. Connect Google Analytics with the Plugin
Within your WordPress dashboard, navigate to “Insights” and click on “Settings.” Connect your Google Analytics account with the plugin by following the prompts.
6. Paste the Tracking Code
In the plugin settings, find the section for adding the Google Analytics tracking code. Paste the code you copied earlier and save the changes.
7. Verify Tracking
Visit your Google Analytics account to verify that the tracking code is correctly implemented. It may take a few hours for data to appear.
Conclusion
Adding Google Analytics to your WordPress website is a fundamental step in optimizing your online presence. By following these simple steps, even beginners can harness the power of data to make informed decisions about their content, audience, and overall website performance. Embrace the insights provided by Google Analytics to enhance your WordPress site and create a more engaging online experience for your visitors.


Comments are closed.