Japan is one of the easiest countries to travel in once you are connected, but it can feel surprisingly complicated before you arrive. Train transfers, hotel check-ins, translation apps, restaurant reservations, map searches, and cashless payments all depend on reliable mobile data. Choosing the best eSIM for Japan travel is therefore not just about finding the cheapest plan; it is about selecting a service that gives you dependable coverage, enough data, clear pricing, and simple activation when you need it most.
TLDR: The best eSIM for Japan travel is usually one that uses a major Japanese network, offers enough data for your itinerary, and has transparent terms on validity, speed, and hotspot use. Before buying, check that your phone is unlocked and eSIM compatible. For most visitors, a mid-sized data plan with 4G or 5G access, instant delivery, and responsive support is the safest choice. Avoid choosing purely by price if the provider does not clearly state coverage, throttling rules, or activation instructions.
Start With Your Phone Compatibility
Before comparing plans, confirm that your phone can actually use an eSIM. Most recent iPhones, Google Pixel devices, Samsung Galaxy models, and some other premium smartphones support eSIM, but compatibility varies by country and model. A phone purchased through a carrier may also be locked, which can prevent the use of a travel eSIM from another provider.
Check three things before purchase:
- eSIM support: Your device settings should show an option to add an eSIM or cellular plan.
- Carrier unlock status: Your phone must be unlocked to use a third-party travel eSIM.
- Operating system updates: Install recent updates before departure to reduce activation problems.
This step is important because most eSIM purchases are delivered digitally and may not be refundable once the QR code has been generated or the plan has been installed. A few minutes of checking compatibility can prevent a costly mistake.
Understand How Much Data You Need
Data usage is the main factor that determines which eSIM is best for your trip. Japan has excellent public transport, but travelers often use data continuously for navigation, train platforms, live translation, attraction tickets, and messaging. If you plan to upload videos, use video calls, or rely heavily on social media, your data needs will be higher.
As a general guide:
- Light use: 1 GB per day may be enough for maps, messaging, email, and occasional browsing.
- Moderate use: 2 GB per day is safer if you use translation apps, restaurant searches, and photo uploads.
- Heavy use: 3 GB or more per day is advisable for streaming, frequent hotspot use, or video sharing.
If you are traveling for one week, a 10 GB to 20 GB plan is often practical for moderate use. For two weeks, consider 20 GB, 30 GB, or an unlimited plan, depending on your habits. However, read the fine print on “unlimited” plans. Some providers reduce speeds after a daily or total usage threshold, which can make the plan less useful than it first appears.
Prioritize Network Coverage, Not Just Price
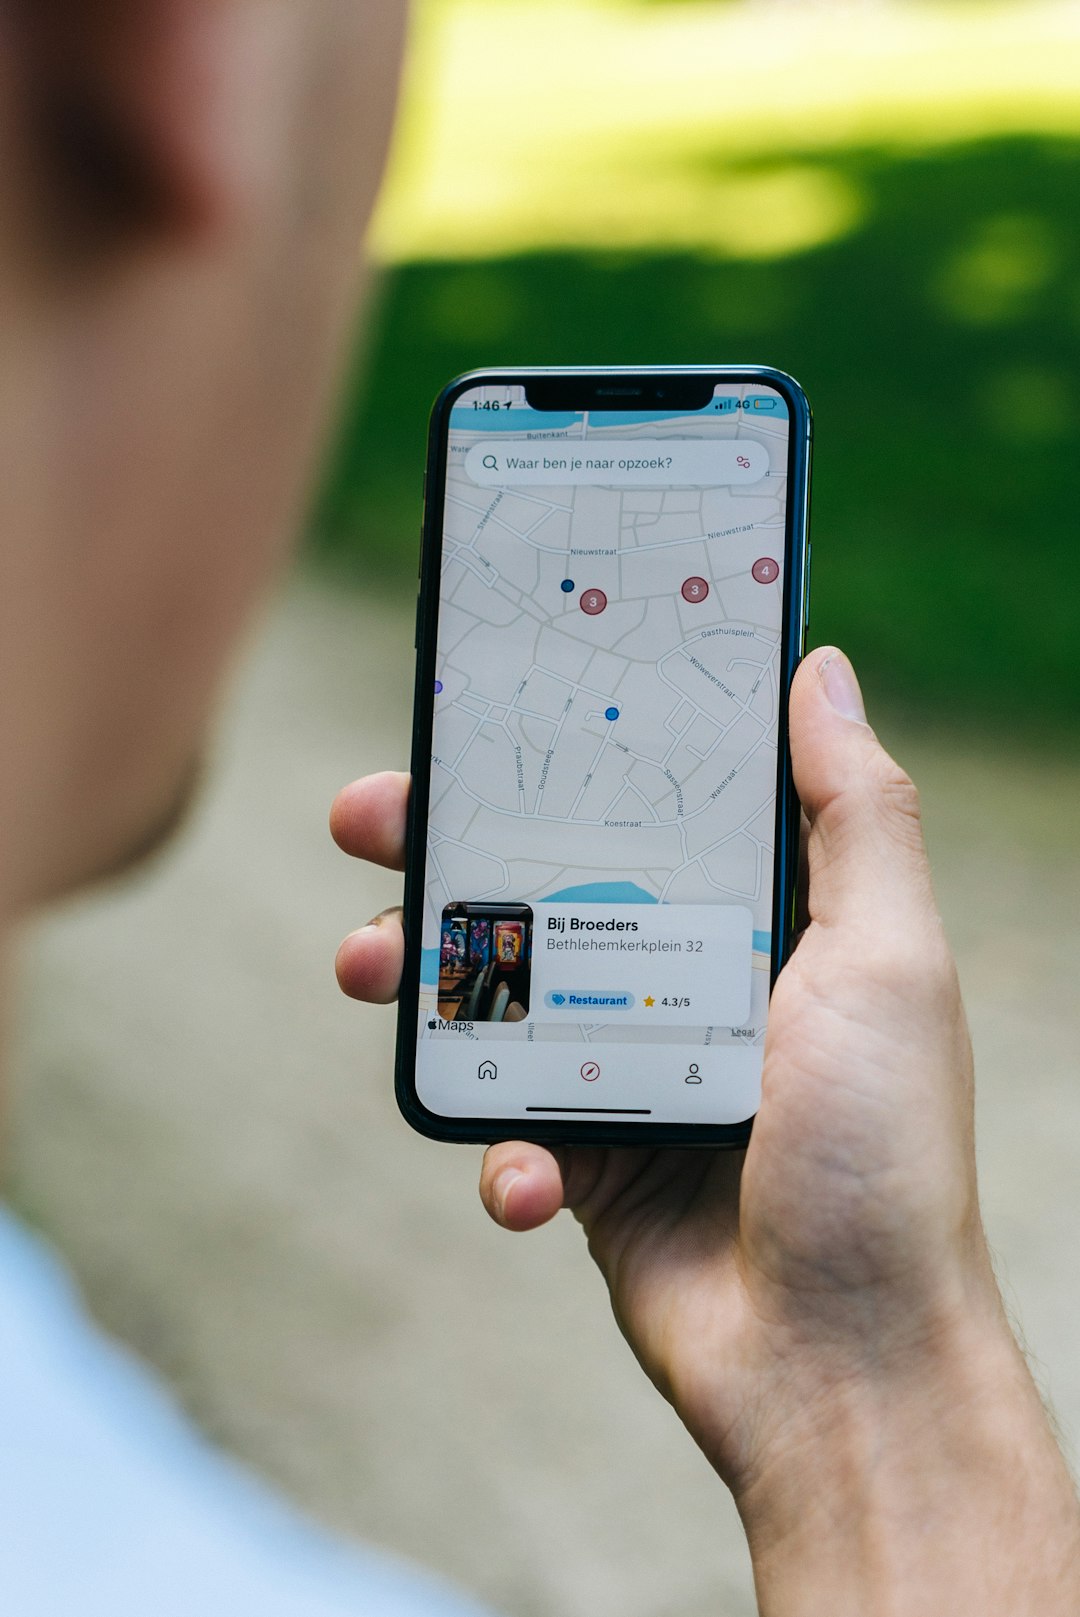
Japan has strong mobile infrastructure, particularly in major destinations such as Tokyo, Osaka, Kyoto, Hiroshima, Fukuoka, Sapporo, and Nagoya. Still, not every eSIM uses the same network. Many travel eSIM providers act as resellers and connect through local carriers or roaming partners. The quality of your service depends heavily on which Japanese network your eSIM accesses.
For city travel, most reputable eSIMs will work well. If your itinerary includes rural areas, mountain towns, ski resorts, coastal regions, or long-distance train routes, coverage becomes more important. Look for providers that clearly state which network they use or at least provide a credible coverage explanation. If a provider gives no network information at all, view that as a warning sign.
Do not choose solely by the lowest price. A cheaper plan may have weaker routing, higher latency, strict throttling, or limited customer support. In a country where you may depend on your phone for train routes and translation, reliability is worth paying for.
Check Plan Validity Carefully
Every eSIM has a validity period, and this can be confusing. Some plans begin counting down when you install the eSIM, while others start only when the eSIM first connects to a supported network in Japan. The best option for travel is usually a plan that activates upon network connection, because you can install it at home before your flight without losing days of service.
Read the activation policy before buying. If you are arriving late at night, changing airports, or traveling with family, you will want a plan that can be installed in advance. This reduces stress at immigration or after baggage claim, when airport Wi-Fi may be crowded or inconsistent.
Also make sure the validity period covers your entire stay. If your trip is 15 days, a 14-day eSIM may become inconvenient even if it saves a small amount of money. Some providers allow top-ups, while others require a new eSIM installation. Top-up availability can be valuable if your plans change.
Decide Whether You Need Calls and SMS
Many Japan travel eSIMs are data-only. This is usually sufficient for tourists because messaging apps, internet calls, maps, email, and translation tools all work through mobile data. However, some situations may require a phone number, such as certain restaurant bookings, local delivery confirmations, or services that ask for SMS verification.
If having a Japanese phone number matters to you, look specifically for plans that include calls and SMS. These are less common and may cost more. For many travelers, the practical solution is to keep their home SIM active for receiving important SMS messages while using the Japanese eSIM for data. Be careful with roaming charges from your home carrier if you do this. Turn off data roaming on your primary line unless you intentionally want to use it.
Review Hotspot and Tethering Rules
Hotspot use is essential for some travelers, especially couples, families, business travelers, or anyone carrying a laptop or tablet. Not all eSIMs allow tethering, and some unlimited plans restrict it. If you plan to share your connection, confirm that hotspot is permitted before purchase.
For a solo traveler, one eSIM per phone is usually simplest. For a group, compare the cost of individual eSIMs against one larger plan with hotspot. Individual eSIMs provide more independence, while hotspot sharing can save money but drains the host phone’s battery quickly. In Japan, where you may be navigating all day, battery life is a serious consideration.

Look Closely at Speed and Throttling Policies
Many providers advertise 4G, LTE, or 5G access, but the real experience can depend on network priority, congestion, and fair usage policies. A plan may say “unlimited” but reduce speed after a set amount of daily data. Reduced speed may still support messaging, but it can make maps, translation, uploads, and websites frustratingly slow.
When evaluating a plan, look for clear answers to these questions:
- Is the data allowance fixed or unlimited?
- If unlimited, is there a high-speed limit per day?
- What happens after the limit is reached?
- Does the plan include 5G where available?
- Are speeds affected by network congestion or deprioritization?
A trustworthy provider explains these conditions in plain language. If the details are vague, assume there may be limitations.
Consider Ease of Installation and Support
One of the main advantages of an eSIM is convenience. You can buy it online, receive it by email, scan a QR code, and install it without visiting a store. Still, installation can be intimidating if you have never used an eSIM before. Choose a provider with clear setup instructions for your device type.
Good instructions should explain how to:
- Install the eSIM using a QR code or manual activation details.
- Label the eSIM so you can distinguish it from your home line.
- Set the eSIM as the mobile data line.
- Turn data roaming on or off as required by the provider.
- Confirm that the APN settings are correct if manual setup is needed.
Customer support also matters. If activation fails at the airport, you need quick help, not a response two days later. Look for support channels such as live chat, email, or help center documentation. Reviews can reveal whether support is genuinely responsive.
Compare eSIMs Against Pocket Wi-Fi and Physical SIMs
Japan has long been known for pocket Wi-Fi rentals and airport SIM cards. These options still work, but eSIMs are often more convenient for modern travelers. A pocket Wi-Fi device can be useful for groups or heavy laptop use, but it must be charged, carried, picked up, and returned. A physical SIM may offer strong service, but it requires removing your current SIM and keeping it safe.
An eSIM is usually best if you want a fast, low-friction solution. There is no device return, no SIM tray tool, and no need to wait in an airport line. The tradeoff is that you must have a compatible phone and be comfortable following digital setup instructions.
Check Reputation and Reviews
A serious comparison should include provider reputation. Look beyond star ratings and read recent reviews from travelers who used the eSIM in Japan. Pay attention to comments about coverage in specific cities, activation reliability, speed, and support quality. Reviews from the past few months are more useful than older feedback because network partnerships and plan rules can change.
Be cautious with providers that have very little public information, unclear company details, or unrealistic claims. A professional website alone does not prove reliability. Transparent pricing, clear terms, accessible support, and consistent user feedback are stronger signals.
Match the eSIM to Your Travel Style
The best eSIM for Japan depends on how you travel. A first-time visitor spending five days in Tokyo has different needs from someone exploring Hokkaido, Kyushu, or the Japanese Alps for three weeks. Business travelers may prioritize stable hotspot access and high data allowances, while leisure travelers may care more about simple setup and affordable pricing.
For a short city trip, choose a straightforward plan with enough data for daily navigation and messaging. For a longer itinerary, select a provider with top-ups or a larger allowance. For remote travel, pay closer attention to network coverage and user reports from similar regions. For families, decide whether everyone should have their own eSIM or whether one or two larger plans with hotspot will be enough.
Final Checklist Before You Buy
Before purchasing an eSIM for Japan, use this checklist:
- Confirm your phone is unlocked and eSIM compatible.
- Choose a data allowance based on your real usage habits.
- Verify the plan’s validity period and activation timing.
- Check whether hotspot use is allowed.
- Read the speed, throttling, and fair usage policy.
- Look for credible reviews from recent Japan travelers.
- Make sure setup instructions and customer support are available.
Choosing the best eSIM for Japan travel is ultimately a balance between reliability, data allowance, price, and ease of use. The right plan should let you land, connect quickly, and move through Japan with confidence. By checking compatibility, understanding your data needs, and reading the terms carefully, you can avoid most connectivity problems and focus on the purpose of your trip: experiencing Japan safely, efficiently, and without unnecessary stress.